OneLogin with OpenID
Audience: Application Administrators
Content Summary: This page details how to configure OneLogin as your identity manager in Immuta using OpenID.
Add IAM on the App Settings Page
- Navigate to the App Settings page in the Immuta console and click the Add IAM button.
- Complete the Display Name field and select OpenID from the Identity Provider Type dropdown.
- Adjust Default Permissions granted to users by selecting from the list in this dropdown menu.
Add OpenID Connect in OneLogin
- Navigate to OneLogin, click Administration, and then select Applications from the Applications menu.
- Click Add App in the top right corner of the screen. Search for and select OpenID Connect (OIDC).
- Complete the Display Name field and click Save.
Complete the Configuration
-
From the Identity and Access Management window in your Immuta tenant, copy the SSO Callback URL to your clipboard.
-
Return to OneLogin, click the Configuration tab in the left panel, and paste the URL in the Login Url and Redirect URI's fields.
-
Click Save in the top right corner of this screen.
- Click the SSO tab in the left panel of your OneLogin account. Copy the Client ID and the Client Secret and paste these values in the corresponding fields in your Immuta tenant.
- Then, right click the Well-known Configuration text from the SSO tab of OneLogin, and copy the link to your clipboard.
- Return to your Immuta tenant, and paste this link in the Discover URL field; pasting this link here prevents you from having to manually fill out the rest of the form.
-
Confirm email as the User ID claim, and fill out the Scopes section.
-
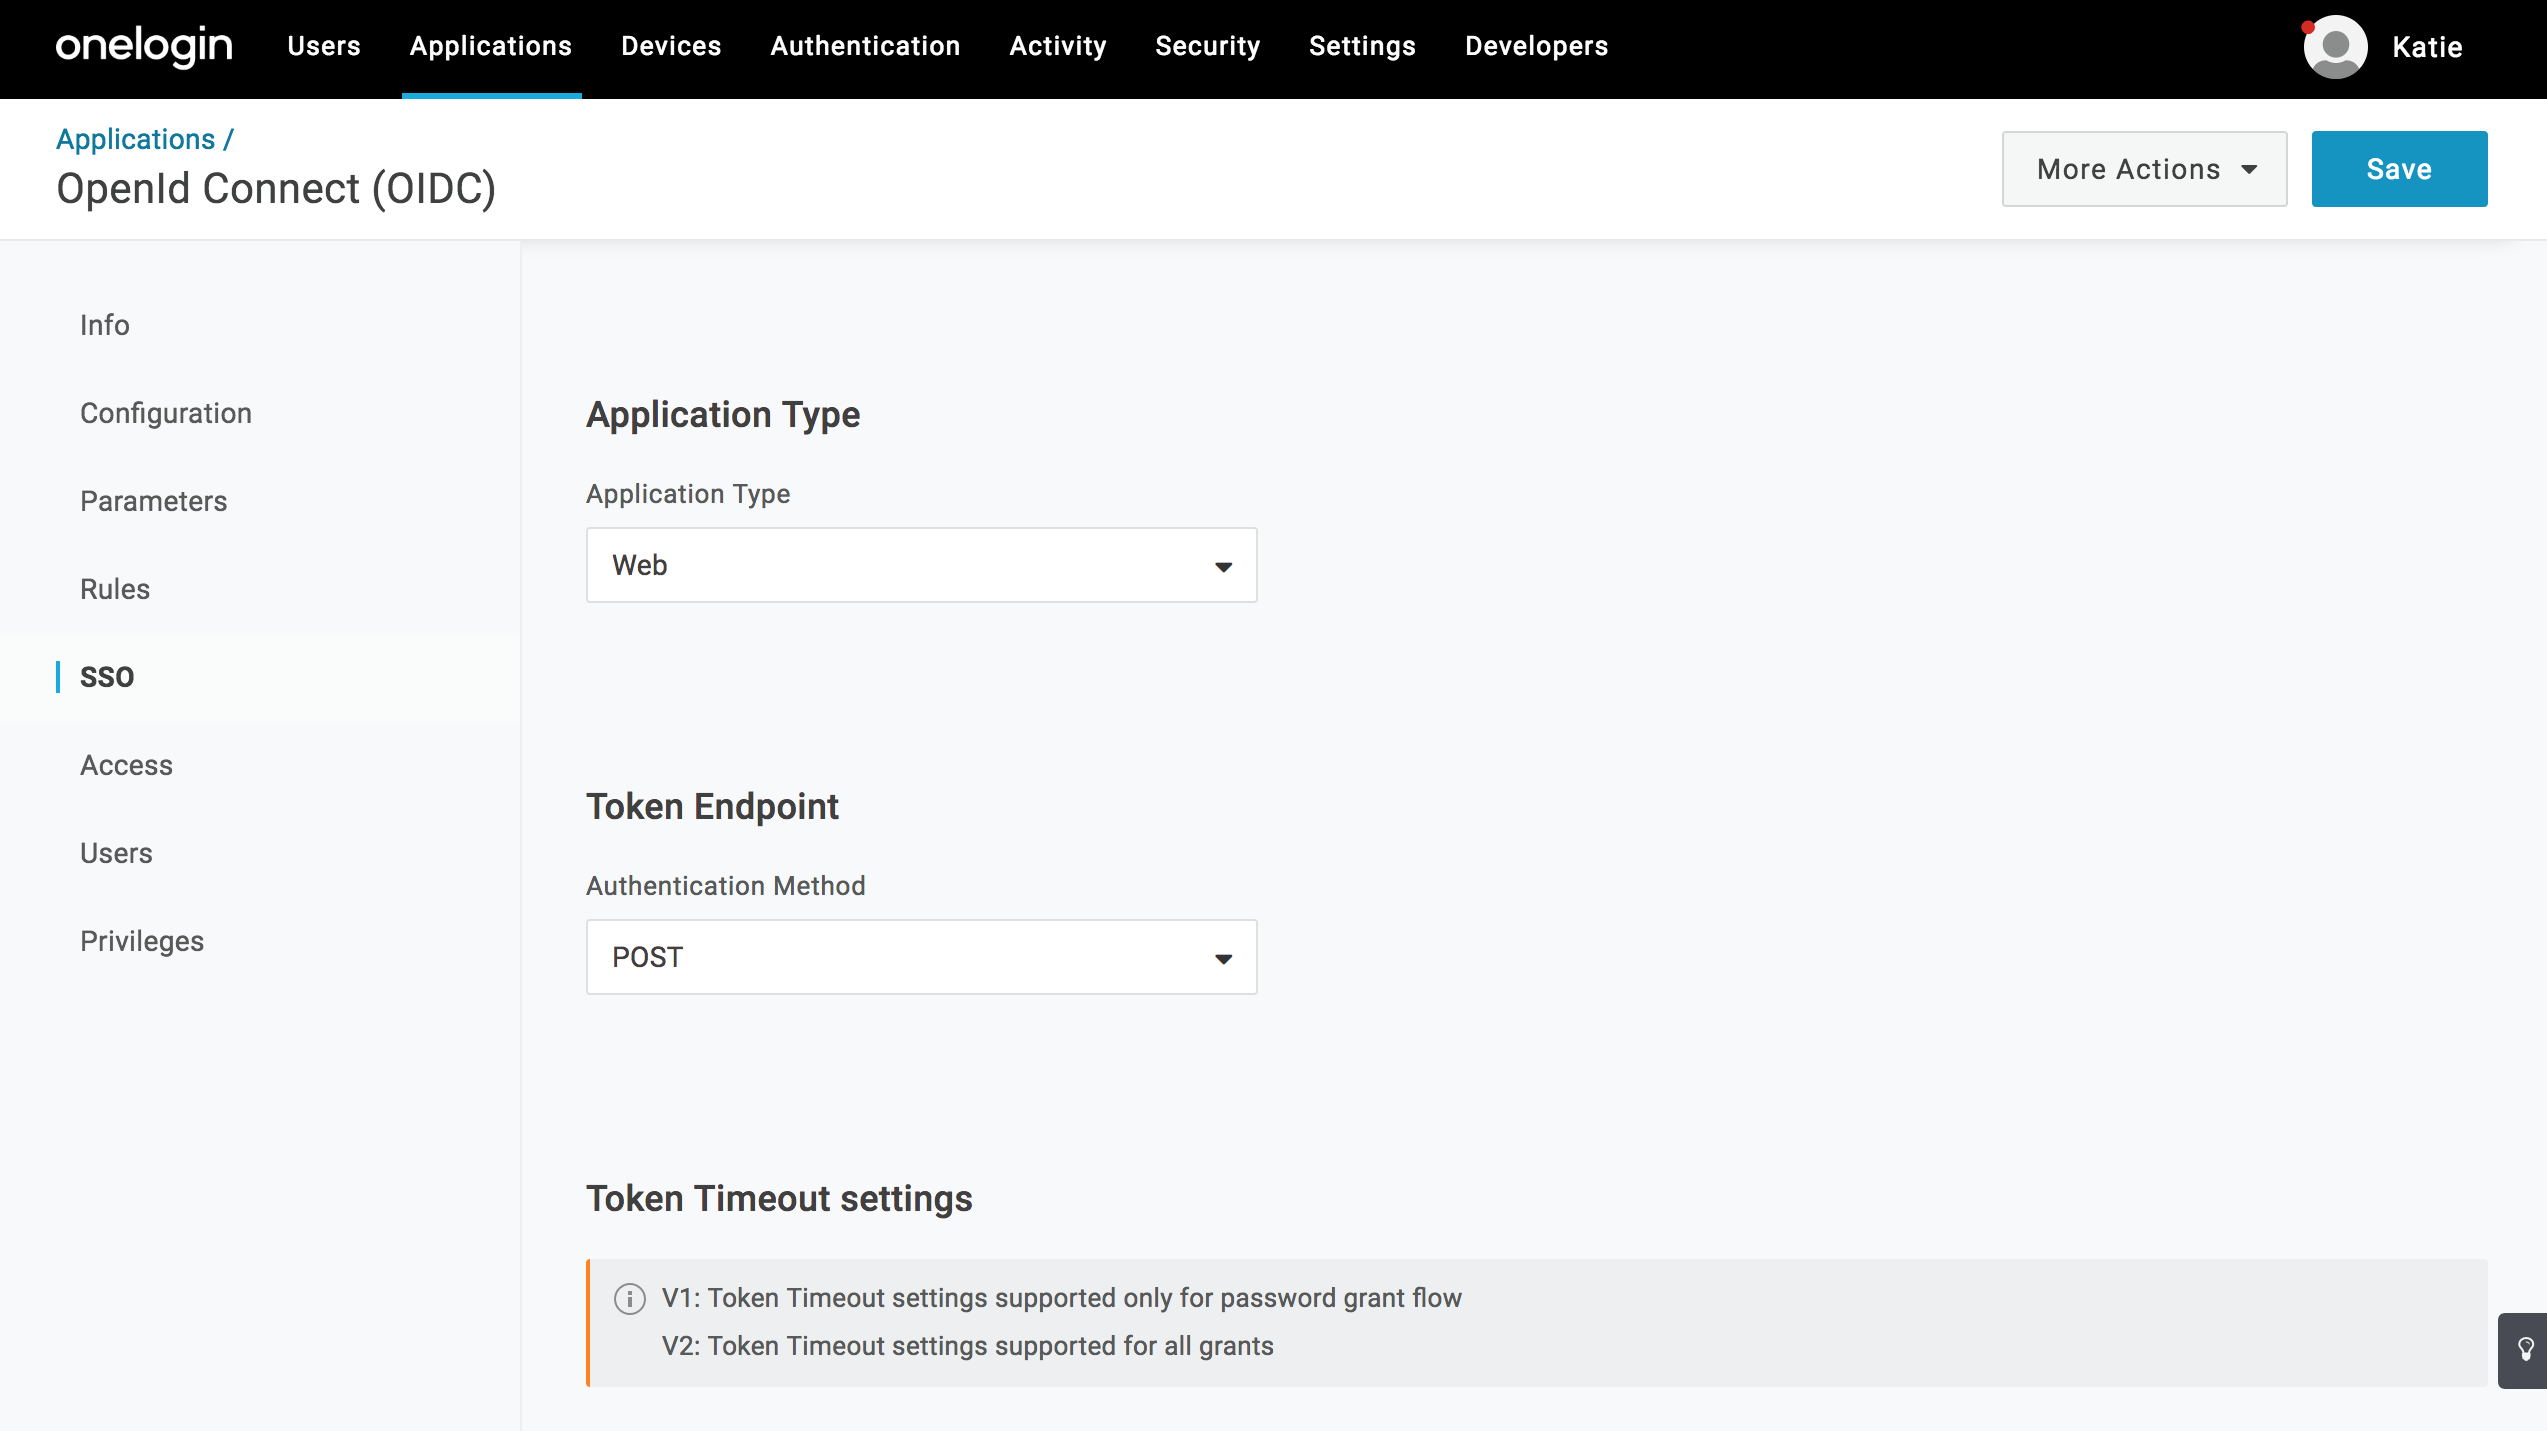
Return to OneLogin and scroll to the Token Endpoint section. Select POST from the Authentication Method dropdown.
-
Click Save.
-
Return to your Immuta console, opt to Enable SSL and Enable SCIM support for OpenID.
-
Opt to complete the Profile Schema section.
-
Opt to Allow Identity Provider Initiated Single Sign On, External Groups and Attributes Endpoint, and Migrate Users.
-
Click Test Connection. Once the connection is successful, click Test User Login.
- Click Save.