Okta LDAP Interface
Audience: Application Admins
Content Summary: This page explains what the Okta LDAP Interface is and the set up process.
Introduction
Okta LDAP Interface is a built-in Okta integration that enables you to expose your Okta directory over standard LDAP wire. The Okta LDAP Interface exposes the entire Okta directory.
The LDAP interface is not an isolated application
This means that you cannot manage the assignment of users and groups to the LDAP Interface the same way you would in a web application. Instead, you should be able to leverage LDAP filters to moderate access to applications that call the LDAP Interface (i.e., filtering user attributes and groups.)
1 - Enable LDAP Interface in Your Okta Account
-
Go to the Admin Console in your Okta account.
-
Select Directory, and then click Directory Integrations.
-
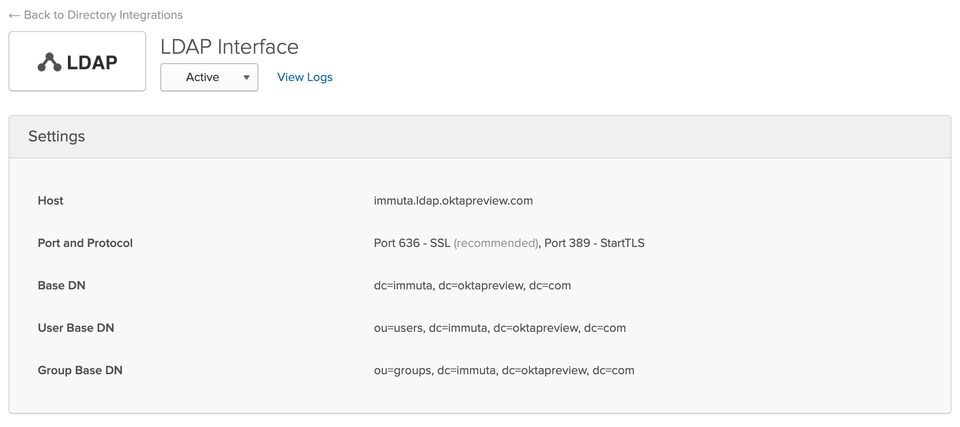
Select Add Directory and Add LDAP Interface. You will be presented with the details required to make a successful LDAP connection.
Best Practice: Create a Service Account
Create a service account to use as your LDAP bind user; any Okta admin with the "view users" permission can serve the role. Choose the Read-Only Admin to grant the least privilege.
2 - Set Up Query Engine Authentication with the LDAP Interface
-
Configure your IAM in Immuta.
1.1. Navigate to the App Settings page in Immuta.
1.2. Click the Add IAM button.
1.3. Complete the Display Name field and select your IAM type from the Identity Provider Type dropdown: LDAP/Active Directory, SAML, or OpenID.
For a tutorial on setting up an Okta IAM see the App Settings page.
-
Follow these parameters to set up the Query Engine with LDAP (Search and Bind Method):
Parameter in pg_hba.conf Example value ldapserver <OKTA_ORGANIZATION>.ldap.okta.comldapscheme ldaps ldapbasedn ou=users, dc= <OKTA_ORGANIZATION>, dc=okta, dc=comldapsearchattribute uid ldapbinddn uid= <OKTA_BIND_USERNAME>, dc=<OKTA_ORGANIZATION>, dc=okta, dc=comldapbindpasswd <OKTA_BIND_PASSWORD>ldapport 636 -
Proceed to the tab that correlates with your deployment for the next step.
In a Kubernetes deployment with the Immuta Helm Chart, you will need to add an entry to queryEngine.clientPgHBARules. Here’s an example of a possible pg_hba.conf entry to add to your Helm values YAML file (notice the placeholders):
queryEngine:
  clientPgHBARules:
  - hostssl immuta +<IAMID>_user 0.0.0.0/0 ldap ldapserver="<HOST>" ldapscheme=ldaps ldapbasedn="<BASE_DN>" ldapsearchattribute="uid" ldapbinddn="uid=`<OKTA_BIND_USERNAME>`,dc=`<OKTA_ORGANIZATION>`,dc=okta,dc=com" ldapbindpasswd="`<OKTA_BIND_PASSWORD>`" ldapport="636"
In a Single Node Docker installation, you will have to manually edit the pg_hba.conf file in the database container. For guidance see the Query Engine Authentication page.
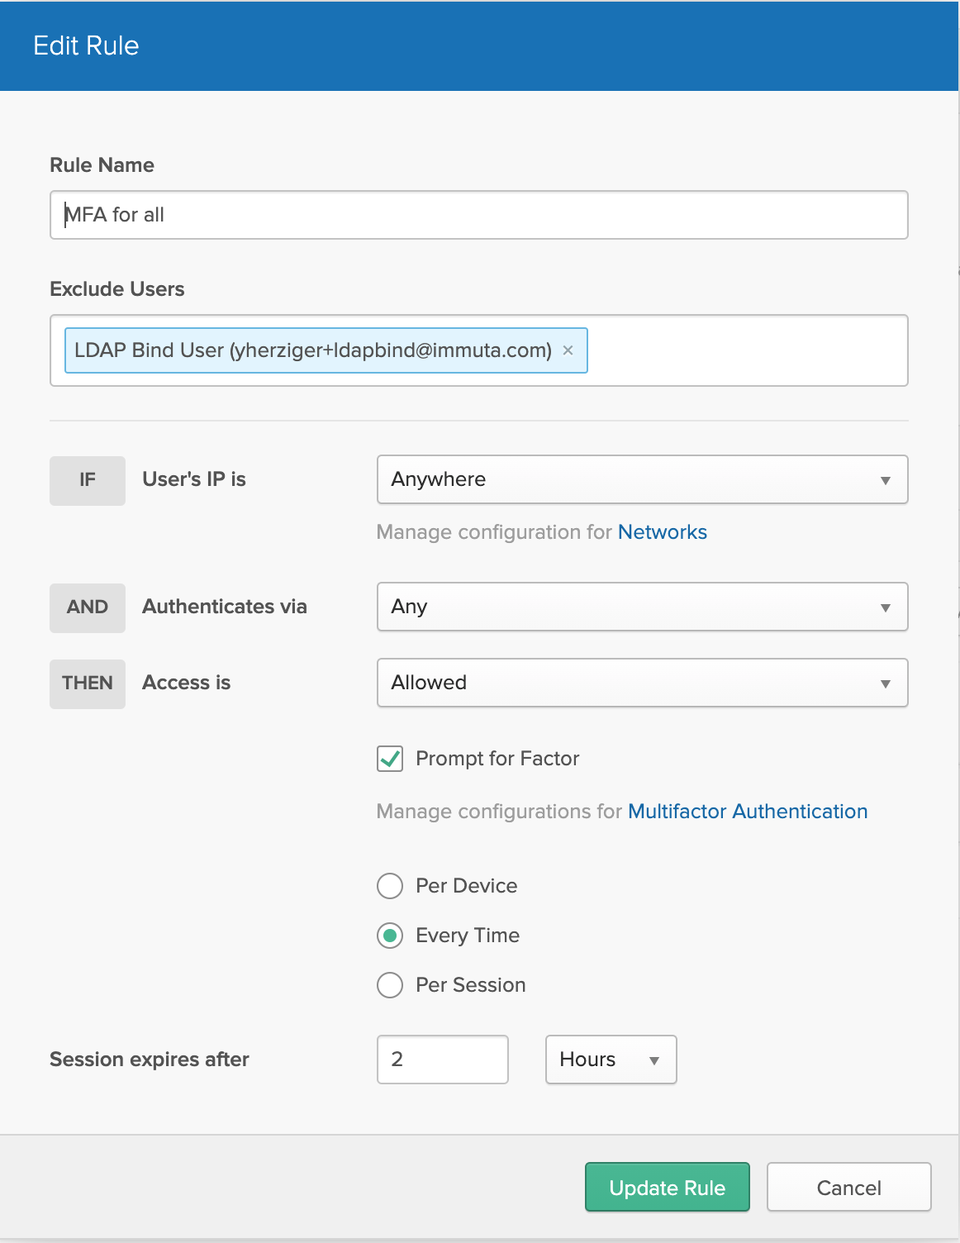
3 - Configure MFA in Okta
To enforce directory-wide MFA, create an authentication policy in Okta (if you do not yet have MFA policies in place).
- Navigate to Security in the Okta Admin console.
-
Select Authentication, and then click Sign On.
Note: If you enforce MFA on the user that’s configured as your LDAP bind user, the integration won’t work. You will therefore need to make that user exempt in your MFA policies.