Okta and OpenID Connect
Audience: Application Admins
Content Summary: This page outlines the requirements and process for adding OpenID Connect as your IAM in Immuta.
Requirements
- Administrator account in Okta.
Supported Features
Immuta's OpenID Connect integration supports the following features
- Service Provider (SP)-Initiated Authentication (SSO) Flow
- Identity Provider (IDP)-Initiated Authentication (SSO) Flow
Configuration Steps
1 - Add the Immuta Application in Okta
-
Log in to Okta as an Admin, navigate to the Applications tab, and click Add Application.

-
Search for Immuta in the search bar and click Add.

-
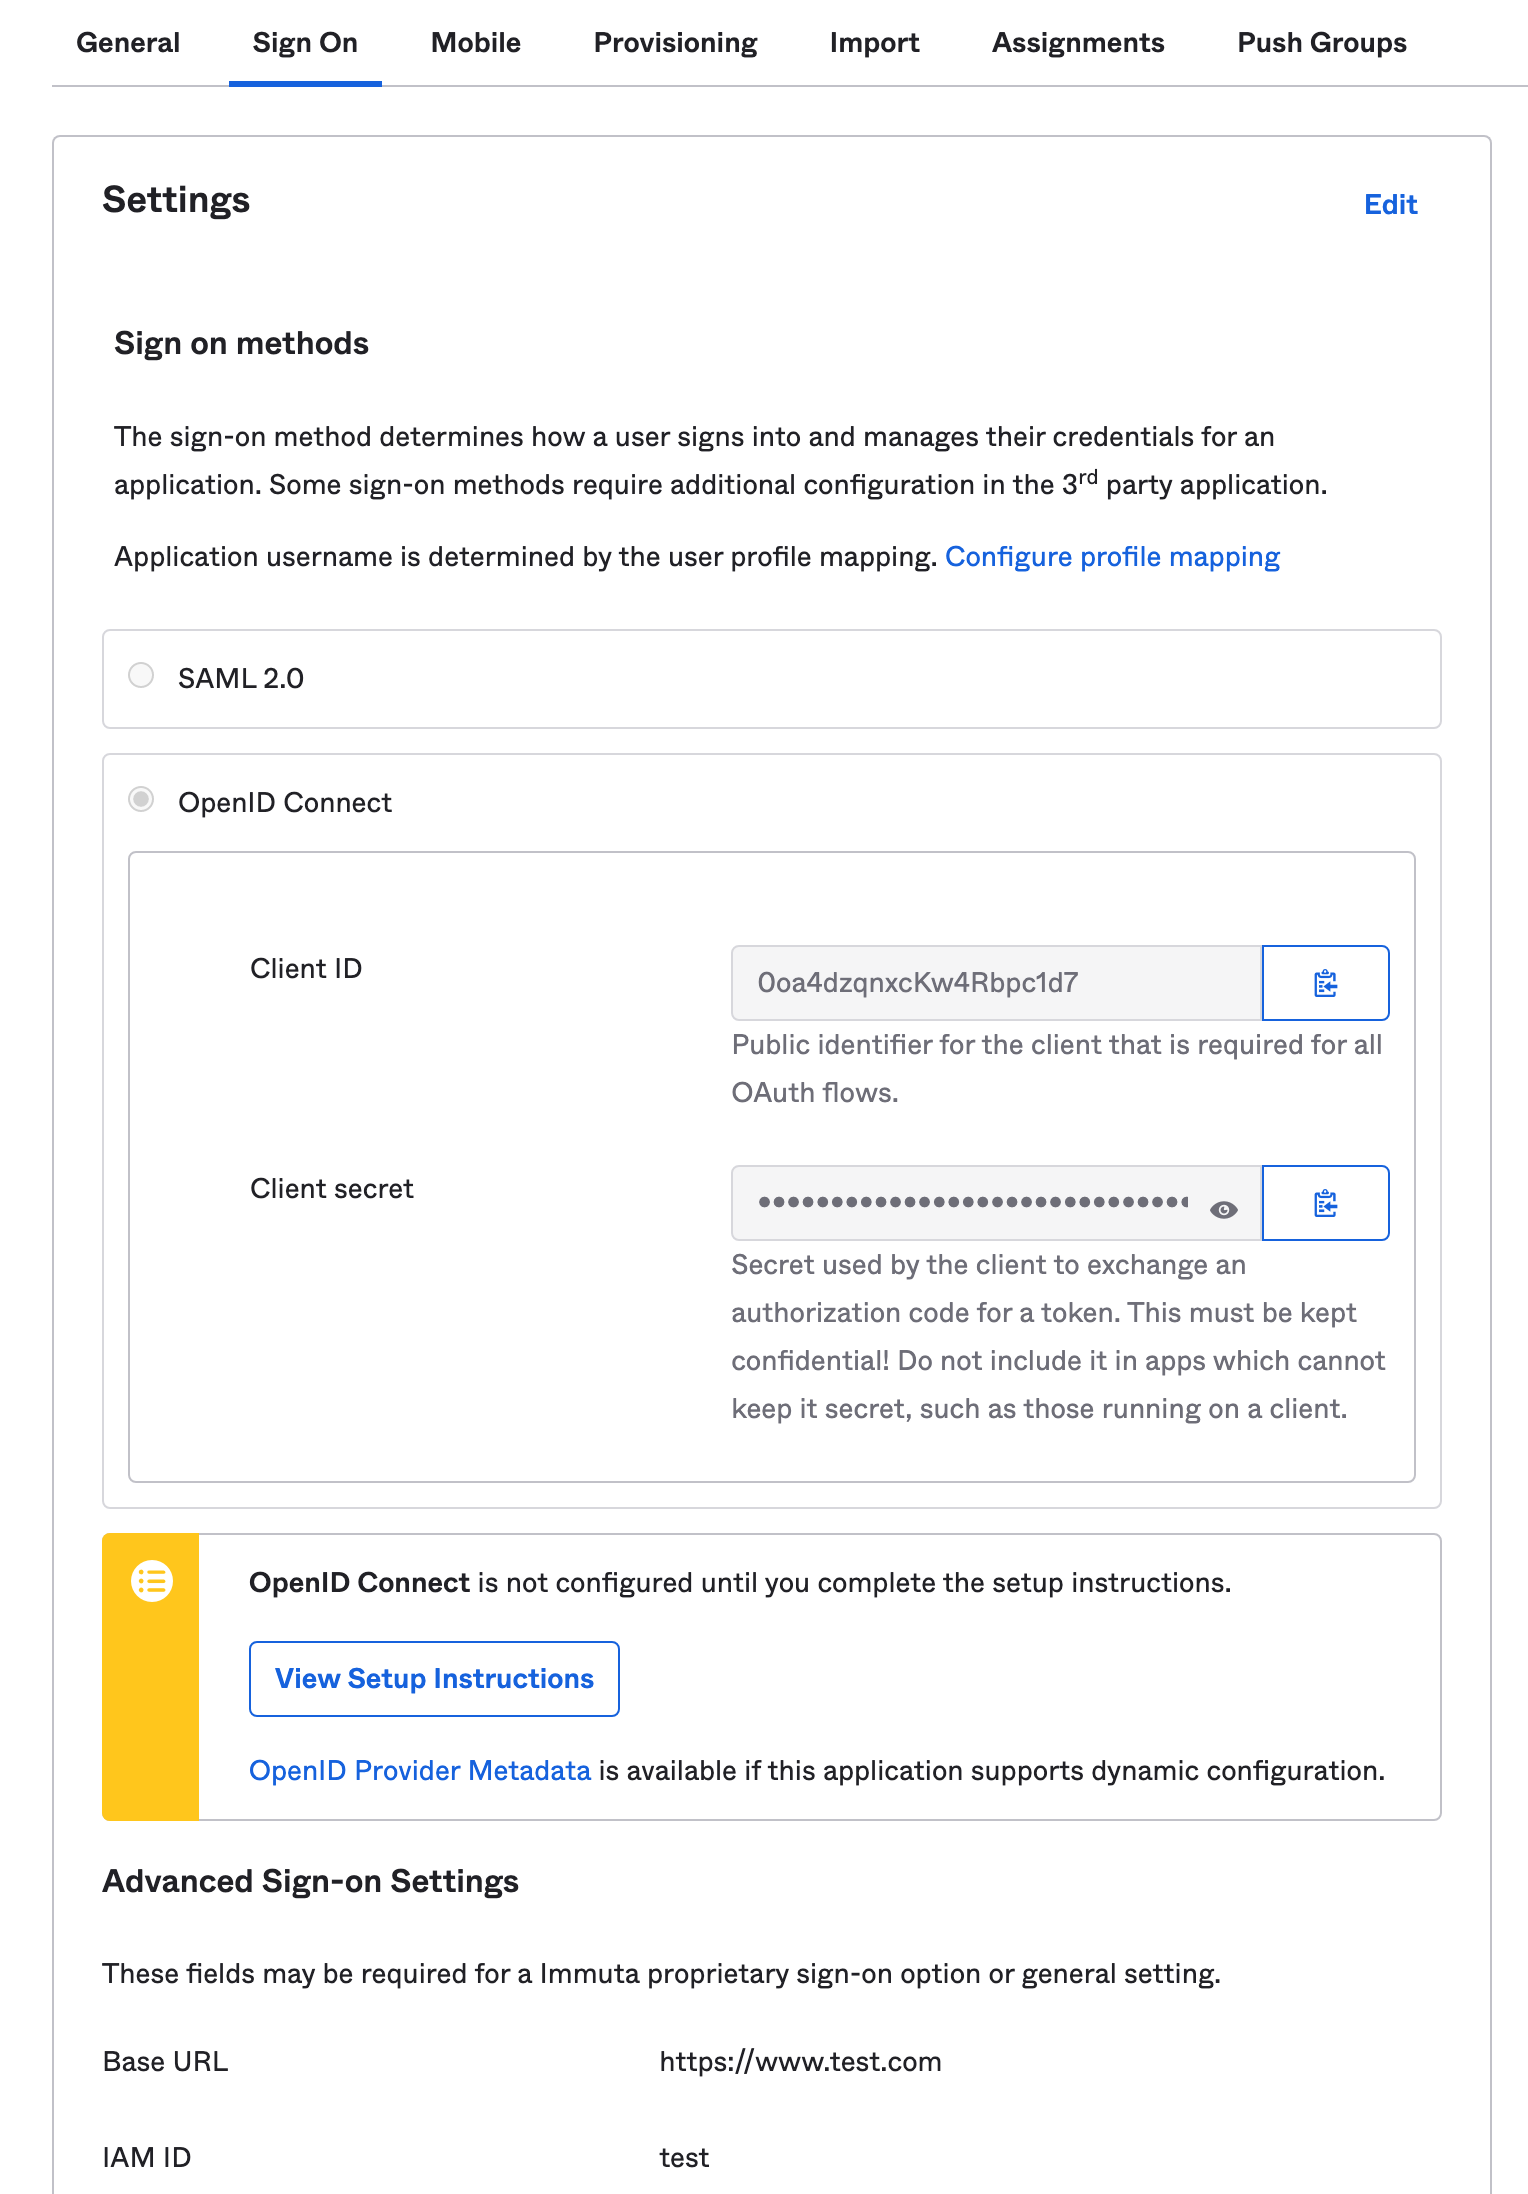
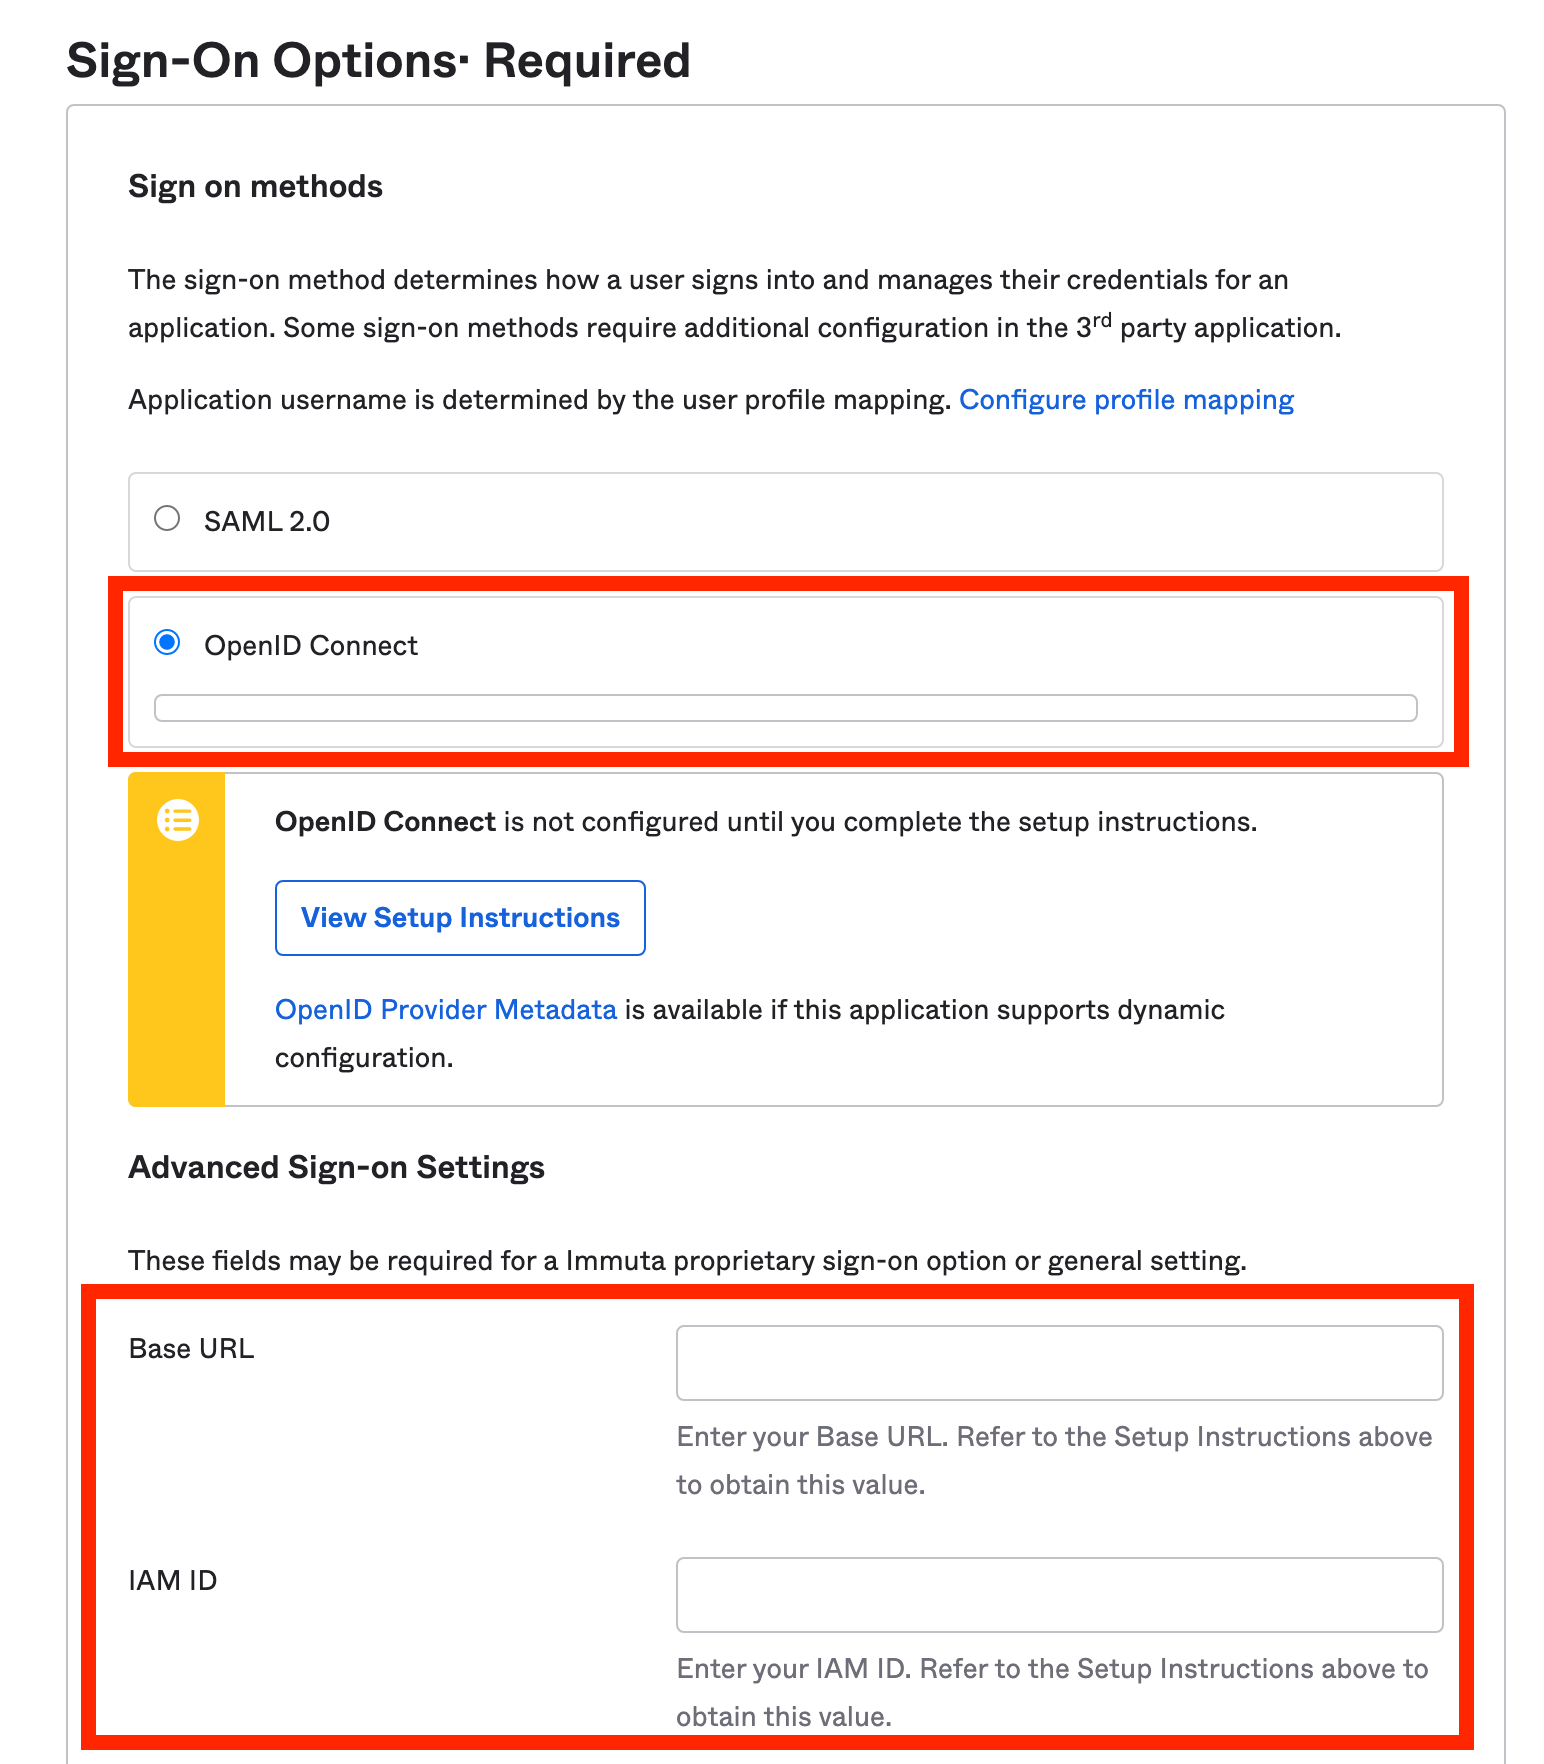
Choose a name for your integration and click Next. Then select the OpenID Connect button.
-
Scroll down and enter the Base URL for your Immuta instance.
-
Enter the IAM ID for your Immuta OIDC integration (if you have not created an IAM ID, you will complete that step in the next section).
-
Click Done and once the page reloads, navigate back to the Sign On tab and copy down the Client ID and Client secret.
2 - Add OpenID Connect in Immuta
-
Log in to Immuta and click the App Settings icon in the left sidebar.
-
Click the Add IAM button and enter a Display Name.
-
Select OpenID from the Identity Provider Type dropdown menu.
-
If required, navigate back to Okta and enter the IAM ID below the Base URL then complete the steps from the Okta section.
3 - Configure OpenID Connect
-
In the Identity Management section of the Immuta console, enter the Client ID and Client Secret you copied from Okta in the previous section.
-
Enter the following URL in the Discover URL field:
https://<your_okta_workspace.com>/.well-known/openid-configuration. -
Opt to add additional Scopes.
- Opt to Enable SCIM support for OpenID by clicking the checkbox, which will generate a SCIM API Key.
- In the Profile Schema section, map attributes in OpenID to automatically fill in a user's Immuta profile. Note: Fields that you specify in this schema will not be editable by users within Immuta.
- Opt to Allow Identity Provider Initiated Single Sign On to use the IDP-Initiated SSO feature by selecting the checkbox.
- Opt to Migrate Users from another IAM by selecting the checkbox.
4 - Test Connection and Save Configuration
- Click the Test Connection button.
- Once the connection is successful, click the Test User Login button.
- Click Save.