Write a Row Redaction Policy
Use Case
A company in the financial services industry analyzes two different customer portfolios to compare performance. Their compliance team has developed the following requirement to maintain compliance:
Compliance Requirement: Access to data is restricted to analysts' corresponding country or geographic region.
For this organization's purposes, they should write a redaction policy that restricts which rows in the data source are visible to users. To do so, they will use attributes created to limit data access to the users' specific country or region. The steps below use this scenario to illustrate the policy, but other policy builder options are noted throughout the tutorial.
-
Navigate to the Data Policies tab on the Policies page.
-
Click Add Policy, enter a name for your policy, and then select the Only show rows action from the first dropdown.
-
Choose where user from the next dropdown. Additional options include where the value in the column tagged and where, with the steps shown below:
-
Where user
-
Choose the condition that will drive the policy from the next dropdown: is a member of a group or possesses an attribute.
-
Use the next field to choose the attribute, group, or purpose that you will match values against.
-
Use the next dropdown menu to choose the tag that will drive this policy.
Note: You can add more than one condition by selecting + ADD. The dropdown menu in the far right of the Policy Builder contains conjunctions for your policy. If you select or, only one of your conditions must apply to a user for them to see the data. If you select and, all of the conditions must apply.
-
-
Where the value in the column tagged
- Select the tag from the next dropdown menu.
- From the subsequent dropdown, choose is or is not in the list, and then enter a list of comma-separated values.
-
Where
- Enter a valid SQL WHERE clause in the subsequent field. When you place your cursor in this field, a tool-tip should appear that details valid input and the column names of your data source. See Custom WHERE Clause Functions for more information about specific functions.
-
Never
The never condition blocks all access to the data source.
- Choose the condition that will drive the policy from the next dropdown: for everyone, for everyone except, or for everyone who.
- Select the condition that will further define the policy: is a member of group, is acting under a purpose, or possesses attribute.
- Use the next field to choose the group, purpose, or attribute that you will match values against.
-
-
Choose the condition for everyone to drive the policy. Additional options include for everyone except and for everyone who.
Note: If you choose for everyone except, use the subsequent dropdown to choose the group, purpose, or attribute key / value pair for your condition. If you choose for everyone who as a condition, complete the Otherwise clause before continuing to the next step.
-
Opt to complete the Enter Rationale for Policy (Optional) field, and then click Add.
-
Click the dropdown menu beneath Where should this policy be applied, and select On all data sources. Additional options include On data sources and When selected by data owners.
Note: If you select On data sources, finish the condition in one of the following ways:
-
Tagged: Select this option and then search for tags in the subsequent dropdown menu.
-
With columns tagged: Select this option and then search for tags in the subsequent dropdown menu.
-
With column names spelled like: Select this option, and then enter a regex and choose a modifier in the subsequent fields.
-
In server: Select this option and then choose a server from the subsequent dropdown menu to apply the policy to data sources that share this connection string.
-
Created between: Select this option and then choose a start date and an end date in the subsequent dropdown menus.
-
-
Click Create Policy, and then click Activate Policy or Stage Policy.
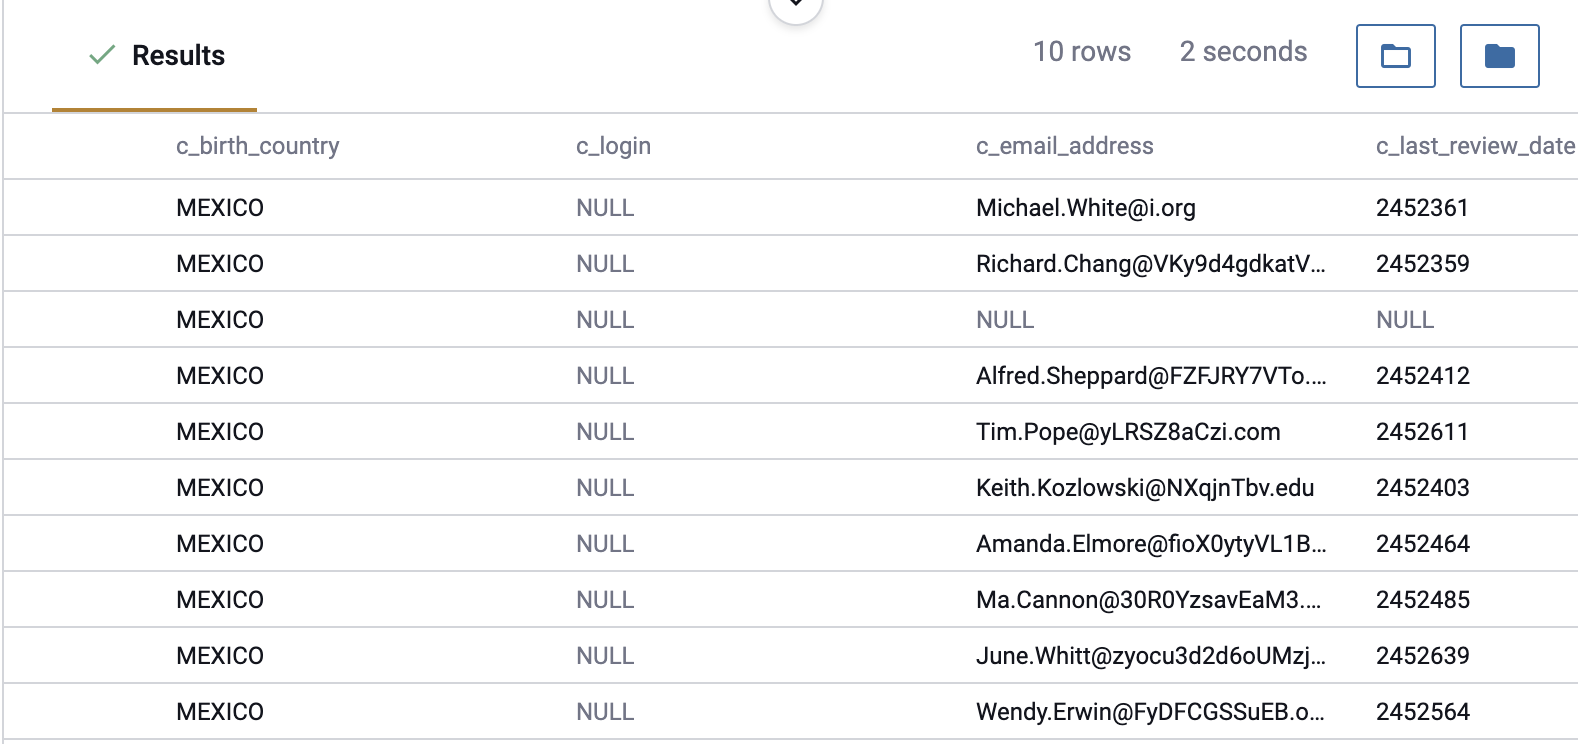
Results
Once your policy is created, you can view it in the Data Policies tab on the Policy page.
The image below displays the data returned by the query for a user in Mexico.