Create an Object-Backed Data Source
Audience: Data Owners
Content Summary: Object-backed data sources are data storage technologies that do not support SQL and can range from NoSQL technologies, to blob stores, to filesystems, to APIs. Object-backed data sources act like key/value stores and are often called ingested sources because Immuta must ingest metadata about the data source to provide access and create policy restrictions. Data Owners provide Immuta metadata about the blobs they are exposing so that Immuta understands how to reach the blobs and apply policies.
For a complete list of supported databases, see the Immuta Support Matrix.
Redshift data sources
- Redshift Spectrum data sources must be registered via the Immuta CLI or V2 API using this payload.
- Registering Redshift datashares as Immuta data sources is unsupported.
1 - Create a New Data Source
To create a new data source,
- Click the plus button in the top left corner of the Immuta console.
- Select the Data Source icon.
Alternatively,
- Navigate to the My Data Sources page.
- Click the New Data Source button in the top right corner.
2 - Select Your Storage Technology
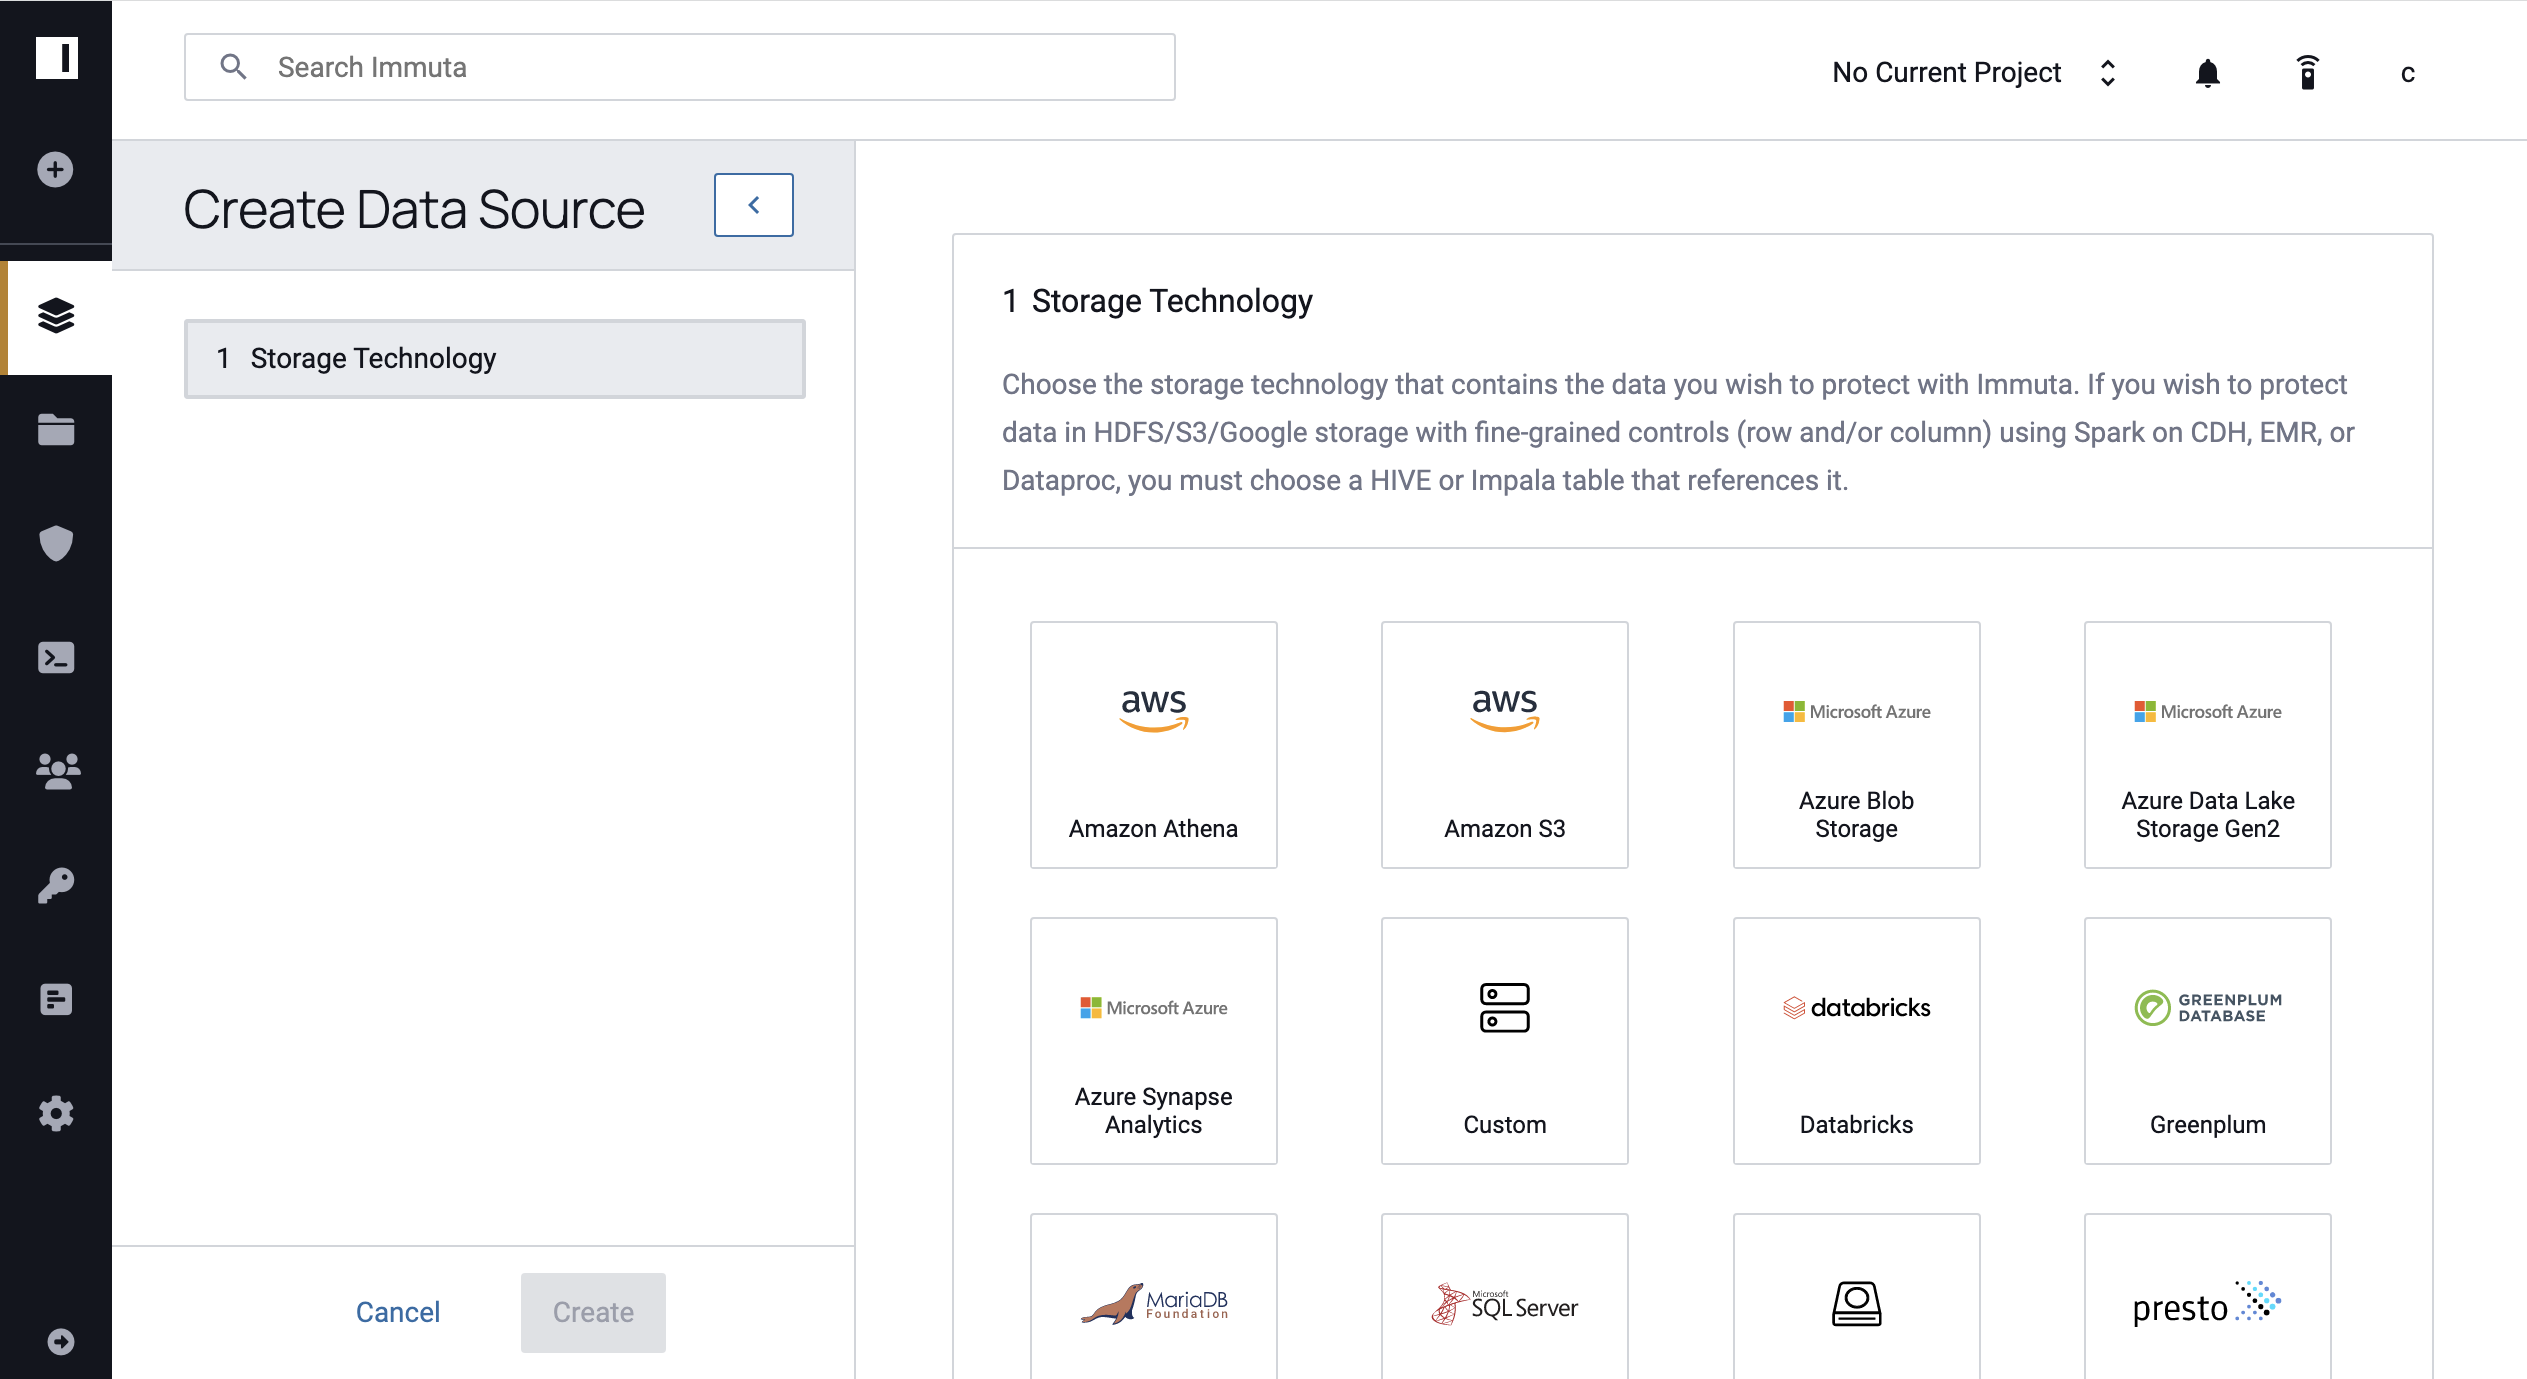
Select the storage technology containing the data you wish to expose by clicking a tile. Please note that the list of enabled technologies is configurable and may differ from the image below.
3 - Enter Basic Information
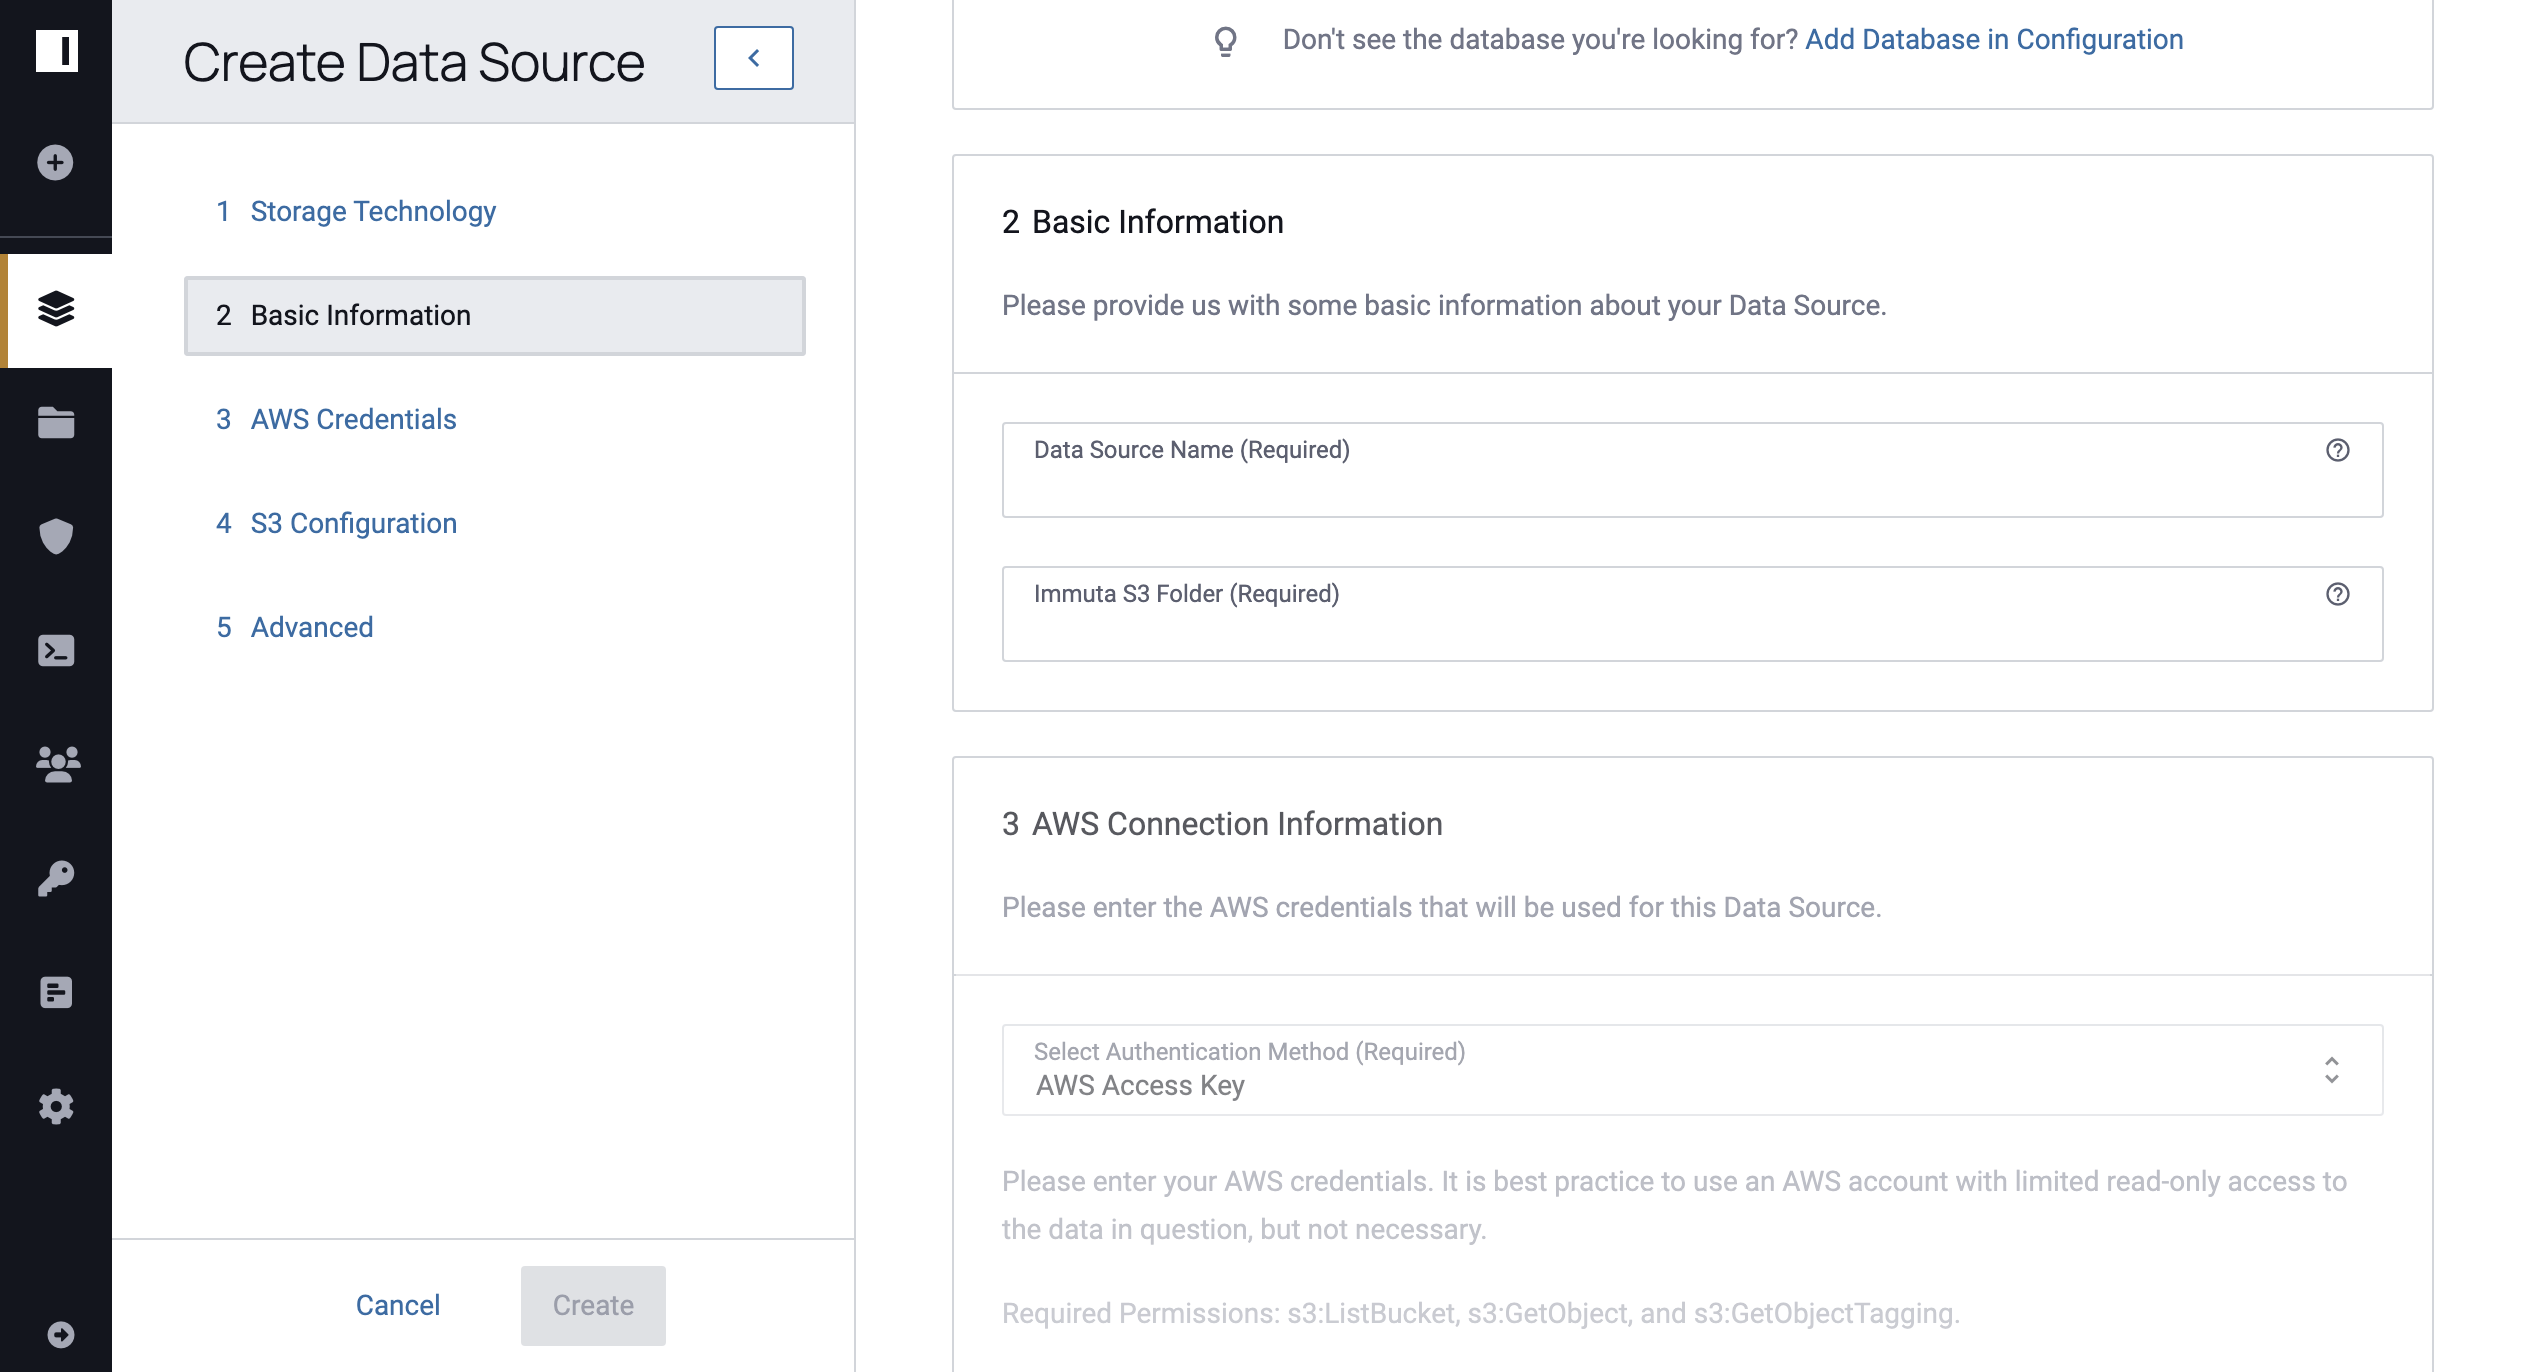
Provide information about your source that makes it discoverable to users.
- Complete the Data Source Name field, which will be the name shown in the Immuta UI.
-
Enter the Immuta S3 Folder, which is the name of the Immuta S3 folder that corresponds to this data source. Note that for object-backed data sources, this table will only store metadata about blobs in this data source.
4 - Enter Connection Information
Select the tabs below for specific instructions for your chosen storage technology.
Amazon S3
Required AWS IAM Permissions
The AWS account creating the S3 data source should have read-only access to the data and the AWS IAM permissions outlined below.
Required Permissions:
- s3:ListBucket: allows user to retrieve a list of all the buckets they own.
- s3:GetObject: allows user to retrieve objects from Amazon S3; the user must have READ access to the object.
- s3:GetObjectTagging: allows user to retrieve an object's tag-sets.
Optional Permission:
- s3:ListAllMyBuckets: allows users to choose from listed buckets.
-
Select an Authentication Method. You must choose an authentication method before connecting an S3 data source. The following methods are supported:
AWS Access Key: Connect to a private S3 bucket using an access key pair.AWS Instance Role: Connect to a private S3 bucket with no credentials, instead leveraging an IAM Role that has been assigned to the Immuta EC2 instance. The Data Owner must possess theCREATE_S3_DATASOURCE_WITH_INSTANCE_ROLEpermission to proceed. By default, this option is disabled. For instructions on enabling this option, please contact your Immuta Support Professional.No Authentication: Connect to a public S3 bucket with no credentials.
-
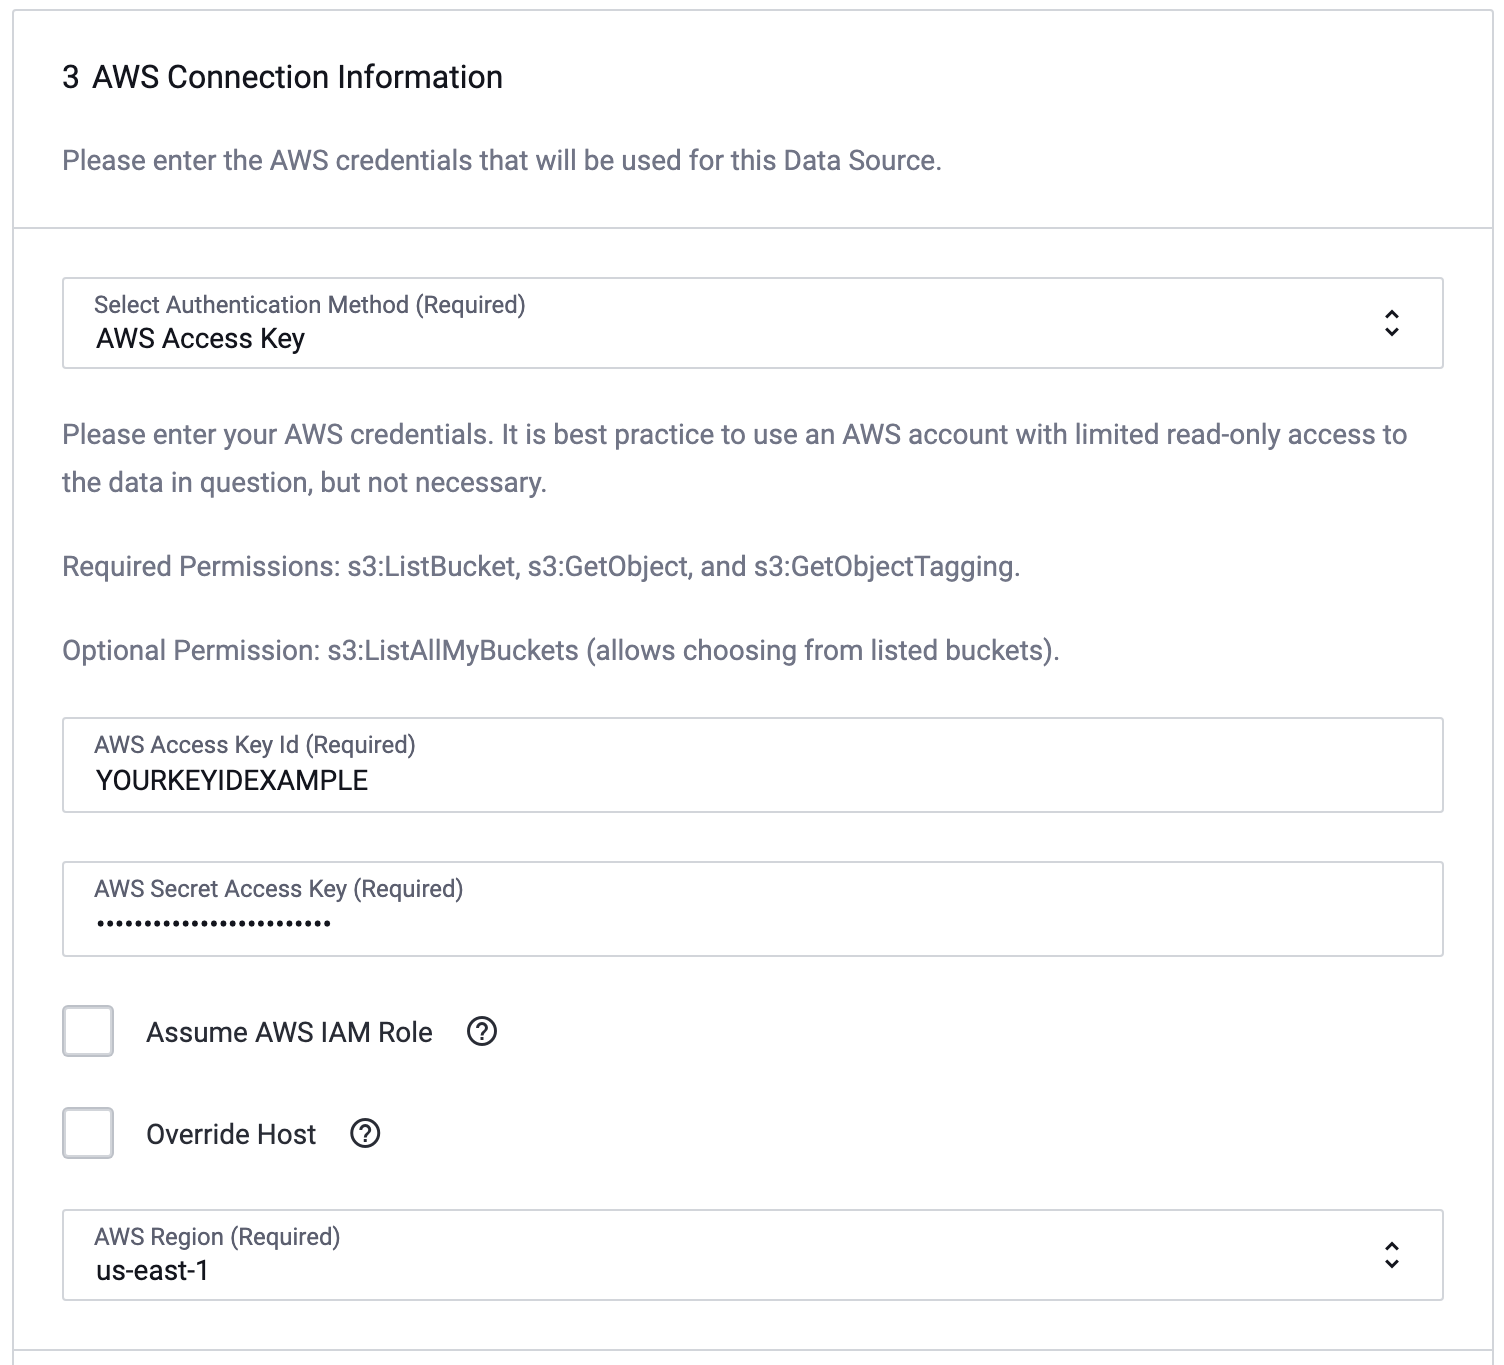
Fill out the following fields in the Connection Information window:
- AWS Access Key Id: Your AWS public access key.
- AWS Secret Access Key: Your AWS secret access key.
- Assume AWS IAM Role: Enable only if you want to connect using an IAM Role's access as opposed to an individual user's access.
- AWS IAM Role ARN: If Assume AWS IAM Role is enabled, this is the name of the IAM Role ARN that will be used (please login to the AWS Console or contact your AWS Admin for this information).
- AWS Region: The region that contains the S3 bucket that you wish to expose.
IAM Policy Elements
To connect to an S3 bucket, the IAM role you use must have several policy elements. These elements are included in a
Statementarray and must be present for every bucket you wish to connect with that IAM Role.s3:ListBucketon the bucket you want to expose.s3:getObjecton/*of the bucket you want to expose.s3:getObjectTaggingon/*of the bucket you want to expose.
Optionally, you can give the element
s3:ListAllMyBucketsonarn:aws:s3:::*. This allows Immuta to present you with a list of buckets to choose from at data source creation time. Without this, you'll have to type in your bucket name.In order to update metadata from S3 as changes occur, additional policy elements are required.
Below is an example policy that can be used with the buckets
test-bucket-1andtest-bucket-2. Note, that you'd have to create a data source per bucket, but that this policy (applied to your IAM role) is applicable to both buckets. This policy does not include the list.{ "Version": "2012-10-17", "Statement": [ { "Effect": "Allow", "Action": [ "s3:ListBucket", "s3:ListBucketMultipartUploads" ], "Resource": [ "arn:aws:s3:::test-bucket-1", "arn:aws:s3:::test-bucket-2" ] }, { "Effect": "Allow", "Action": [ "s3:getObject", "s3:getObjectTagging" ], "Resource": [ "arn:aws:s3:::test-bucket-1/*", "arn:aws:s3:::test-bucket-2/*" ] } ] } -
Click Verify Credentials.
-
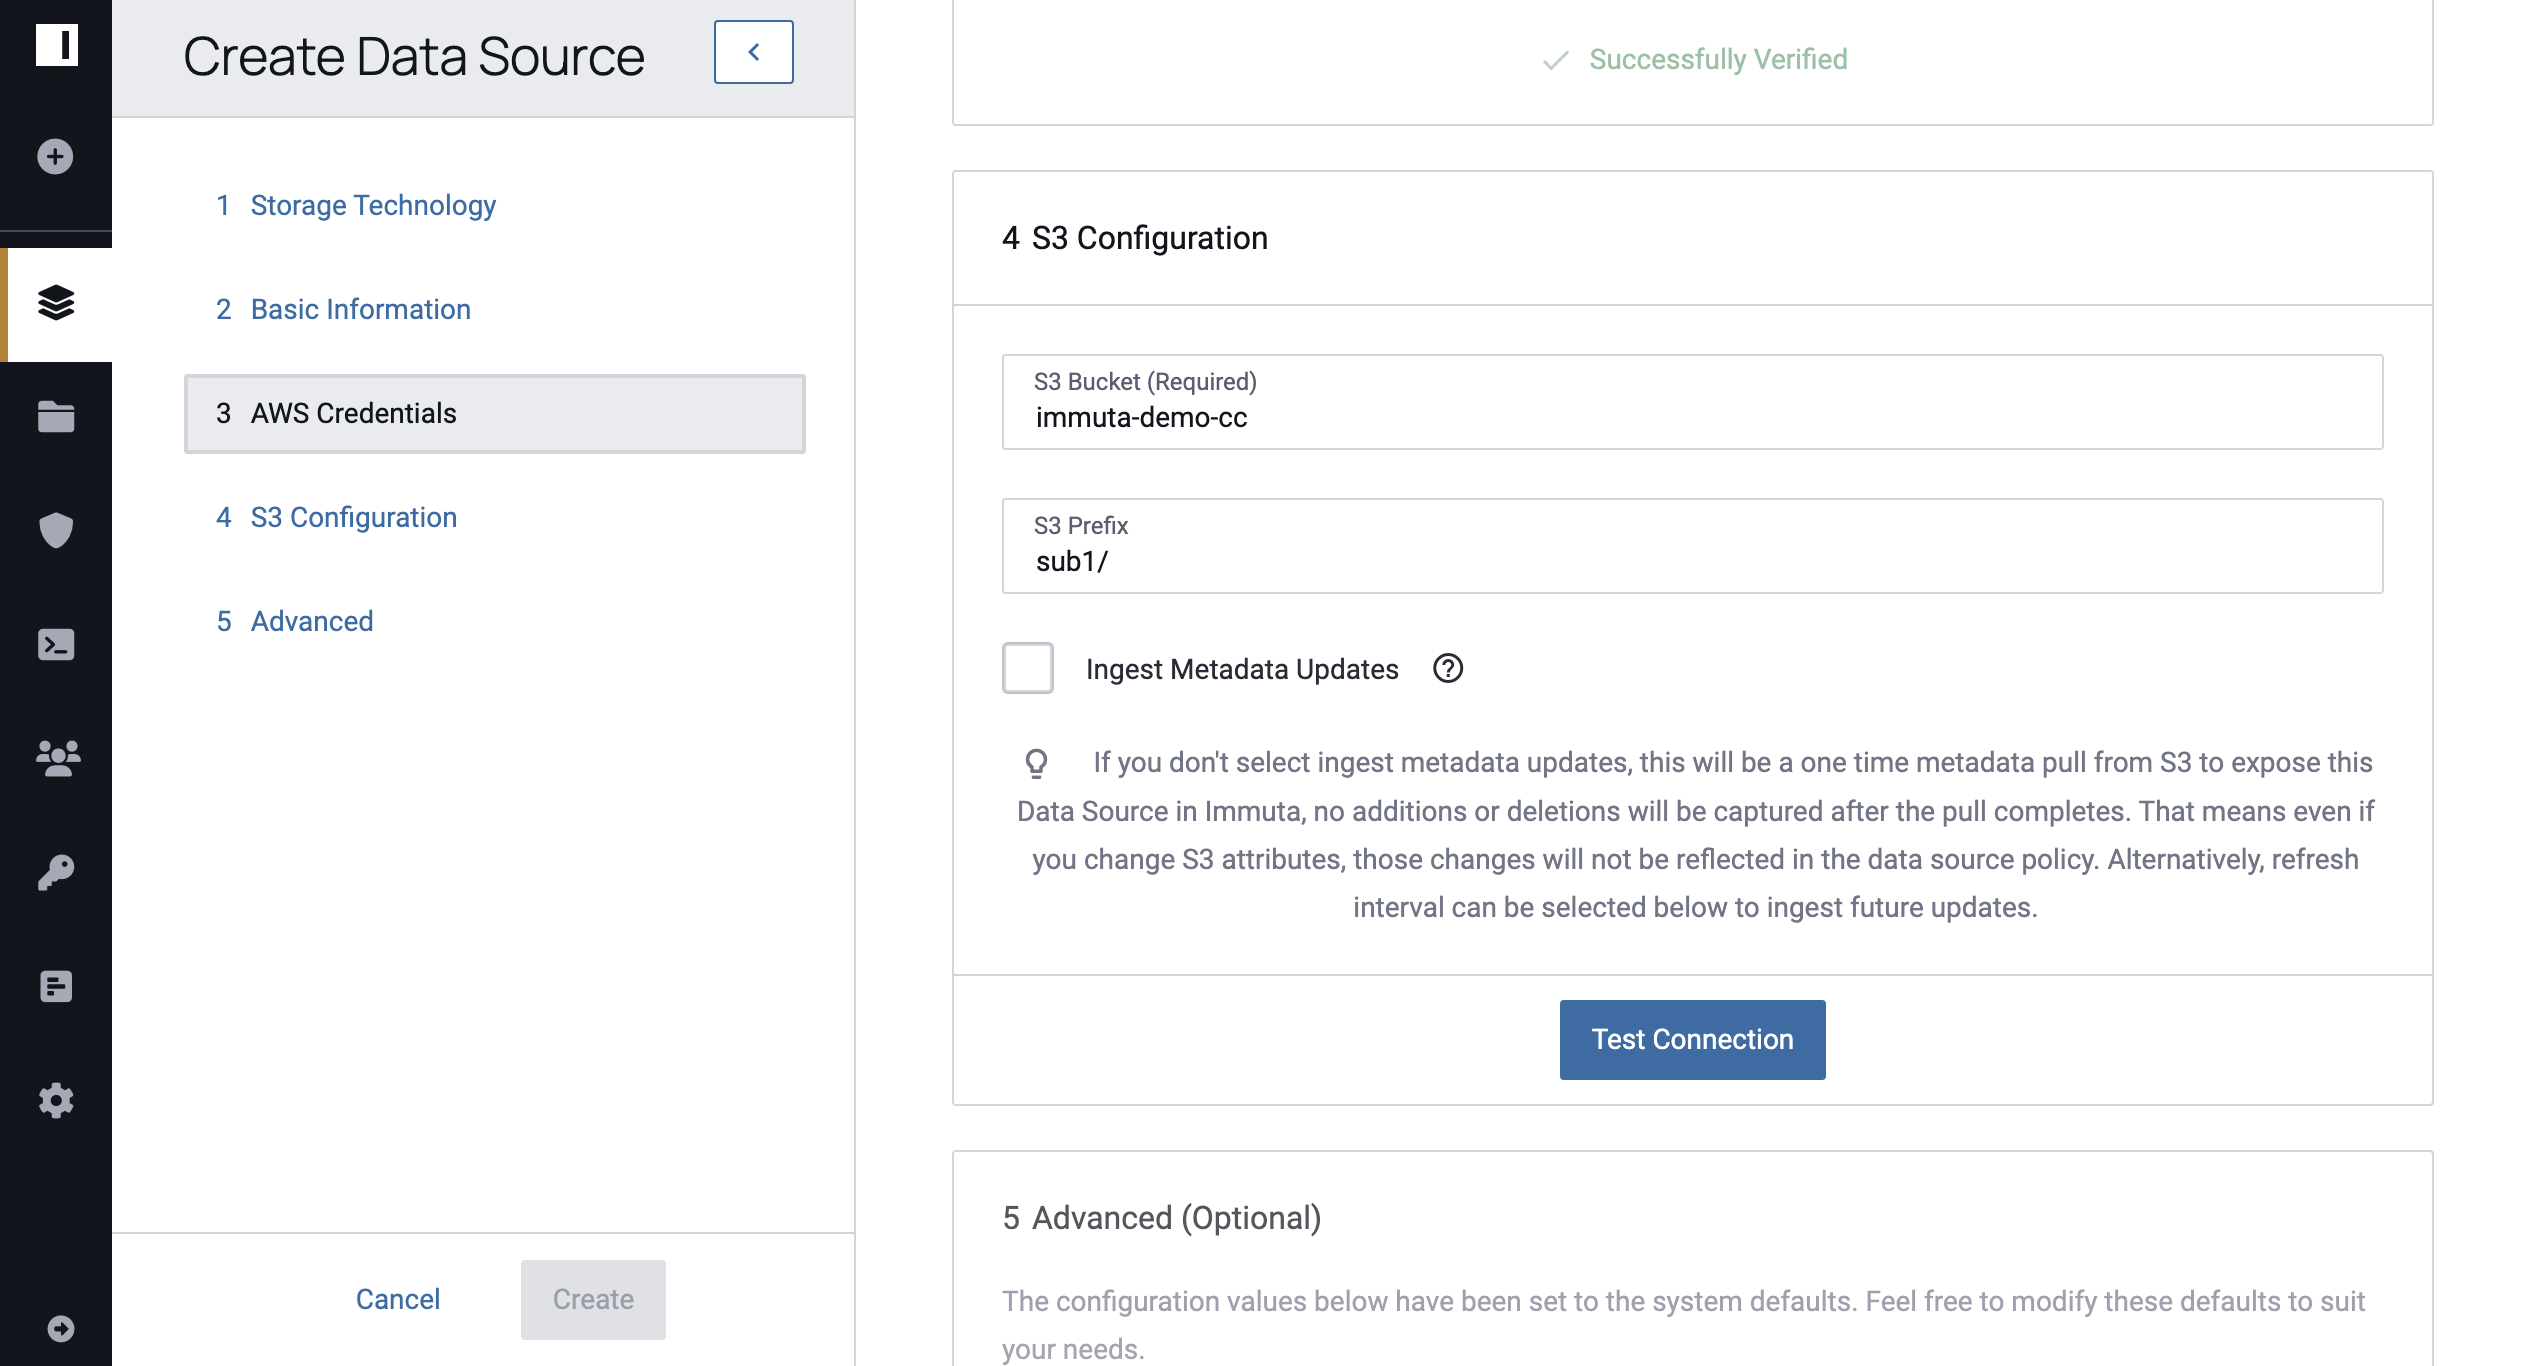
Complete the following fields in the S3 Configuration window:
- S3 Bucket: the bucket you want your data source to reference
- S3 Prefix: the prefix within the specified bucket. Only blobs from within the specified prefix will be ingested and returned.
- Additional Options:
- Ingest Metadata Automatically: when enabled, this automatically monitors S3 for new updates to the data. If not enabled, there will only be a one-time metadata pull from S3. No additions or deletions will be captured after the pull completes. That means even if you change S3 attributes, those changes will not be reflected in the data source policy. This feature creates SQS queues containing bucket updates. Note that even if you do not enable this option, you can still direct Immuta to re-crawl the data manually whenever you would like.
-
If you select Ingest Metadata Automatically, enter the name of the SQS queue in the SQS Queue field.
These AWS IAM permissions are required:
sqs:DeleteMessageBatcha general permission on SQS.sqs:ReceiveMessagea general permission on SQS.
Advanced Options
In this section, you can edit advanced configurations for your data source. None of these configurations are required to create the data source.
Select Data Format
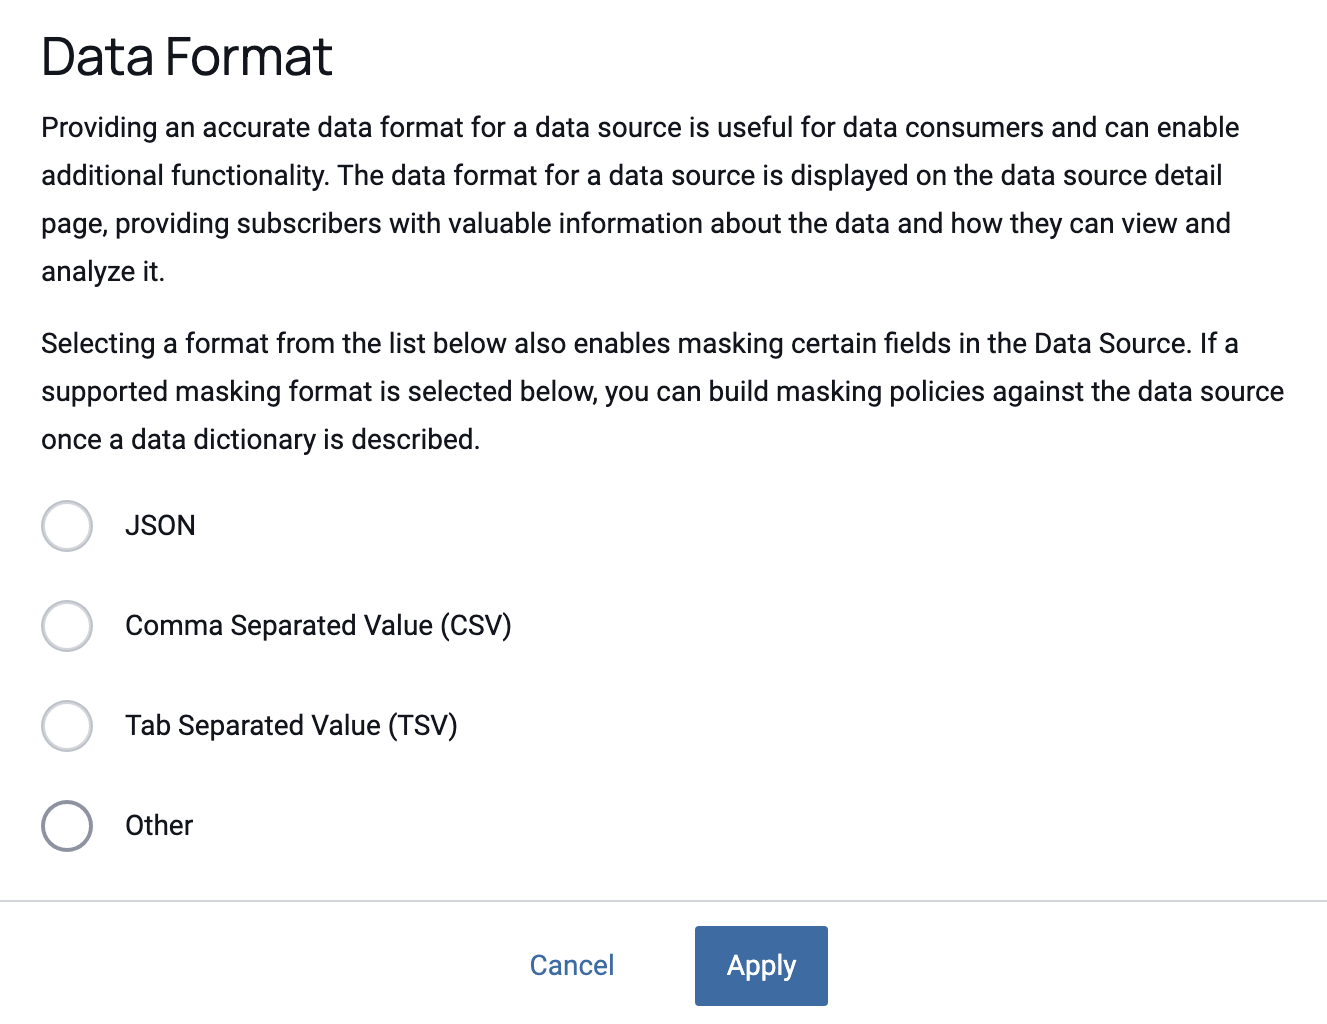
While object-backed data sources can really be any format (images, videos, etc.), we can still work under the assumption that some will have common formats. Should your blobs be comma separated, tab-delimited, or json, you can mask values through the Immuta interface. Specifying the data format will allow you to create masking policies for the data source.
Select Event Time
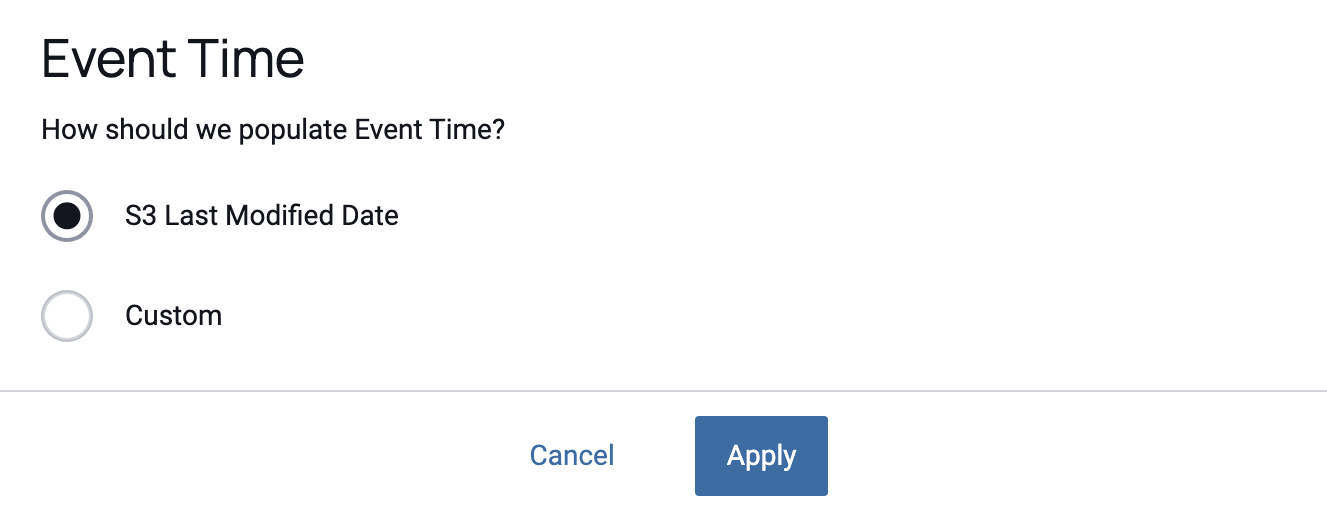
By default, Immuta will use the write time of the blob for the event time.
However, write time is not always an accurate way to represent event time.
Should you want to provide a customized event time, you can do that via blob attributes. In S3 these are stored as
metadata. You can specify the key of the metadata/xattr that contains the
date in ISO 8601 format, for example: 2015-11-15T05:13:32+00:00.
Configure Tags
-
How would you like to tag your data?: This step is optional and provides the ability to "auto-tag" based on attributes of the data rather than the manual entry you do in step 3. You can pull the tags from the folder name or metadata/xattrs. Adding tags makes your data more discoverable in the Immuta Web UI and REST API. -
Select any attributes you would like to extract as features: Object-backed data sources are not accessible via the Immuta Query Engine. However, you can pass Immuta features about the data (essentially extra metadata) and that metadata can be queried through the Immuta Query Engine. Those features can be populated just like the tags (via folder name or metadata/xattrs). -
Note that when using metadata in S3, Immuta assumes the
x-amz-metdata-namespace prefix, so you do not need to include that in your keys.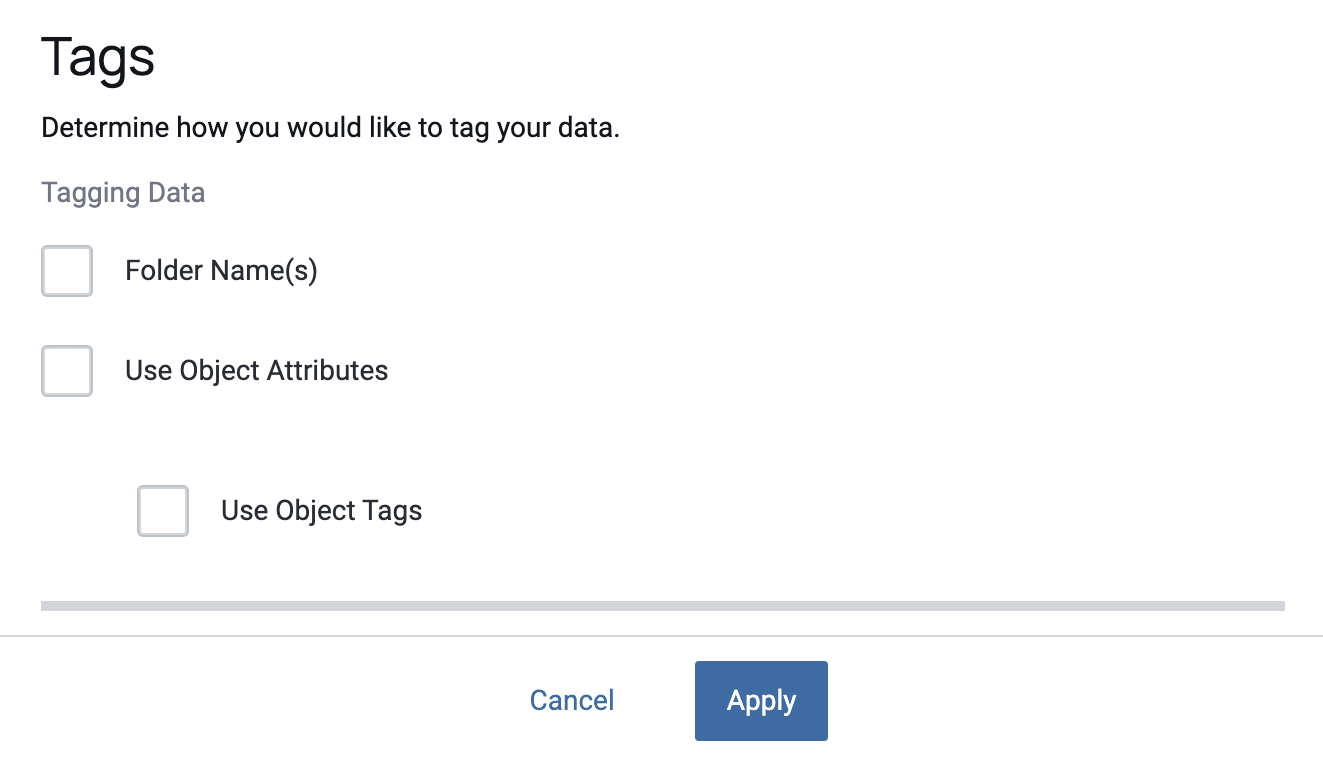
To learn more about S3 tags and metadata attributes see the official AWS documentation:
Refresh Interval
By default, Immuta will automatically apply Never when configuring how often to re-index your data.
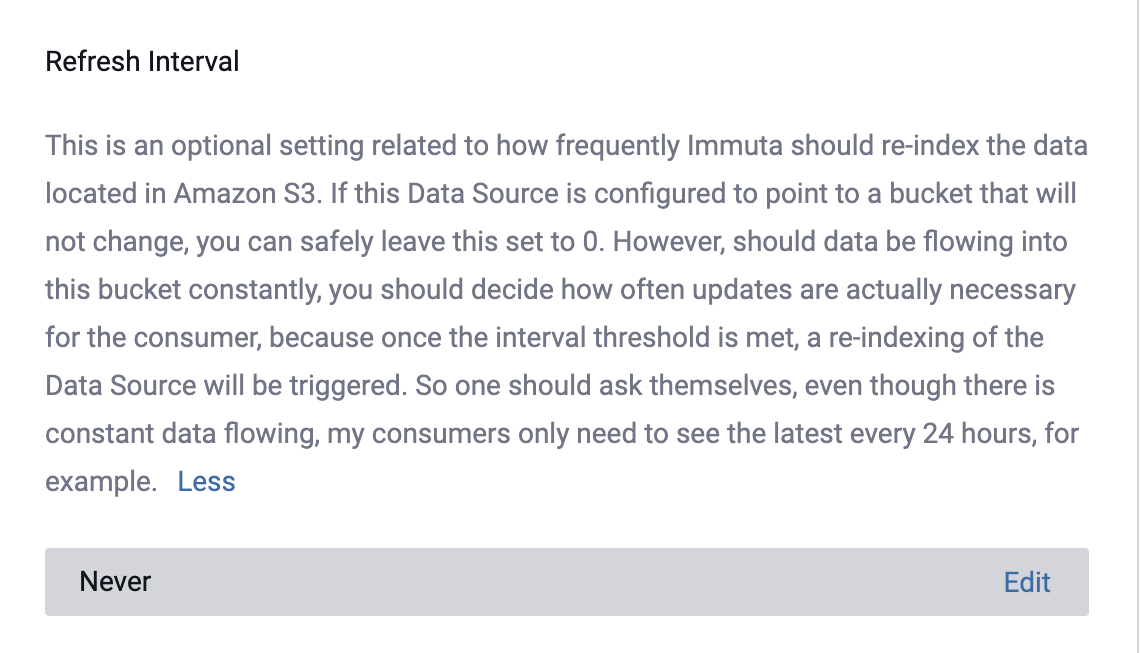
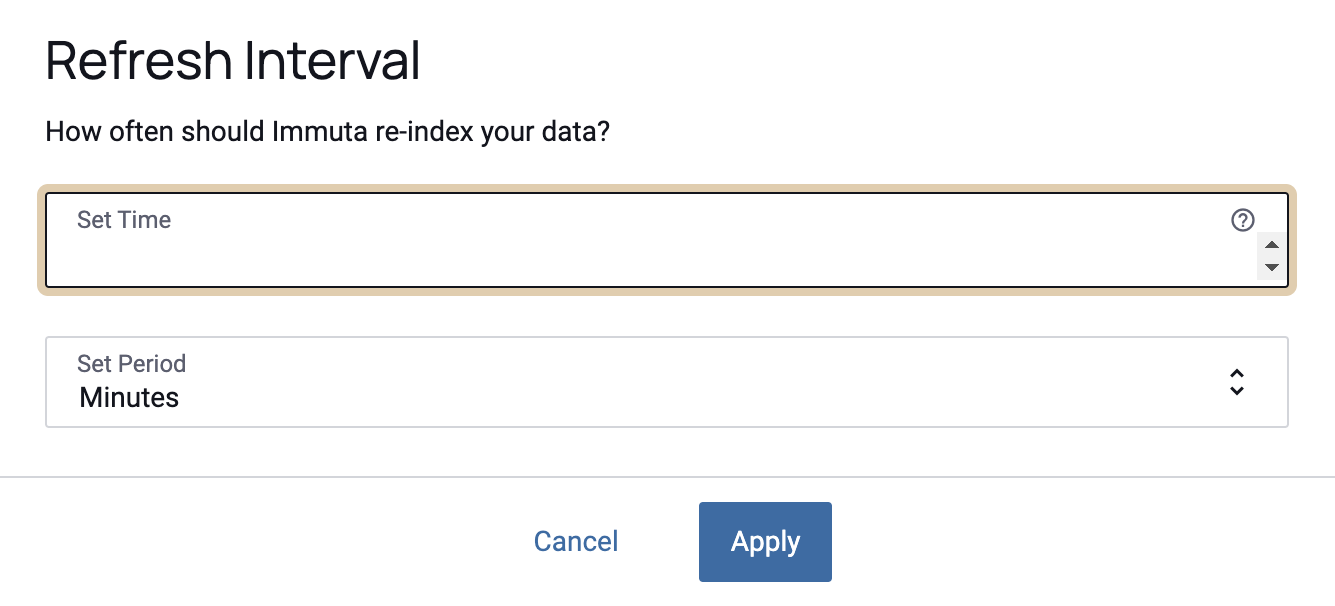
To change this setting, select the Edit icon to set an approximate time and period for Immuta to re-index your data. Then, select Apply to save your changes.
Azure Blob Storage
-
To connect a data source to an Azure Blob Storage container, you must first create a Shared Access Signature for your Azure Blob Storage account.
-
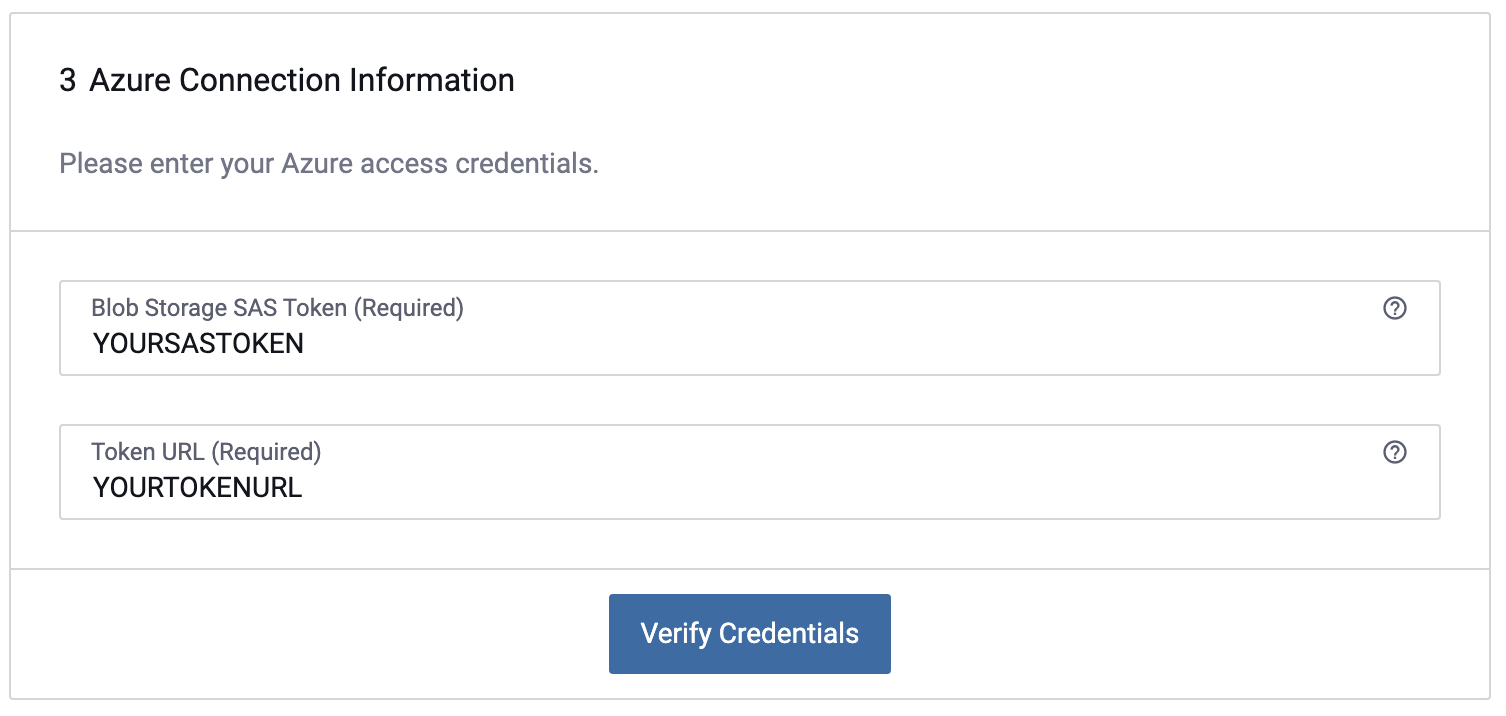
Enter the Shared Access Signature Token and the corresponding URL for your Azure Storage account. Follow the steps below to retrieve your SAS credentials from the Azure Portal.
-
Open the Azure Portal Web UI.
- Find and select your desired Azure Storage Account resource.
-
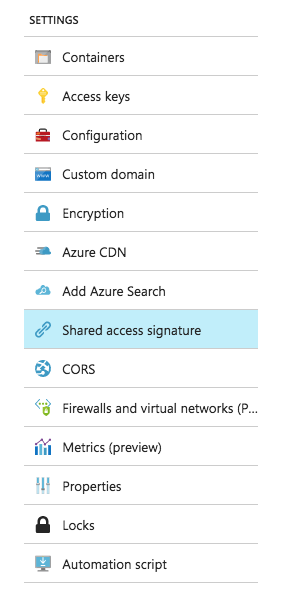
Under SETTINGS select Shared access signature.
-
Configure the SAS Token's allowed services, resource types, and permissions to match the following image.

-
Set a reasonable expiration date for your SAS Token. When your SAS Token expires, your Immuta data source will no longer be able to fetch data from Azure.
-
Select Generate SAS and save the provided credentials.
-
Select the container that you wish to base this data source on. The data source will contain all of the blobs in this container, and it will also maintain the container's directory structure.
-
On the data source creation page in the Immuta console, enter the Blob Storage SAS Token and Token URL and click Verify Credentials.
-
Enter the Azure Blob Storage Container.
Advanced Options
In this section, you can edit advanced configurations for your data source. None of these configurations are required to create the data source.
Refresh Interval
If left blank or set to 0, Azure blob data will only be indexed once when the data source is initially created. Otherwise, the Azure blob data will be re-indexed based on the selected time interval.
- Set Time: This is how often Immuta will re-index data located in the remote Azure blob container.
- Set Period: This is the time period and can be set to minutes, hours or days.
If you do not set a refresh interval, Immuta will never automatically crawl your container. You can always manually crawl from the Data Source Overview page.
Data Format
While object-backed data sources can be any format (images, videos, etc.), Immuta can still work under the assumption that some will have common formats. Should your blobs be comma separated, tab-delimited, or json, you can mask values through the Immuta interface. Specifying the data format will allow you to create masking policies for the data source.
Event Time
Event time allows you to catalog the blobs in your data source by date. It can also be used for creating data source minimization policies.
By default, Immuta will use each blob's Last Modified date attribute from Azure for Event Time.
However, this is not always an accurate way to represent event time.
Should you want to provide a customized event time, you can do that via blob attributes.
You can specify the key of the metadata attribute that contains the
date in ISO 8601 format, for example: 2015-11-15T05:13:32+00:00.
Tags
Immuta will extract any existing metadata from Azure blobs. This metadata can also be used to apply tags
to blobs. When configuring tags, note that Attribute Name refers to the key of your desired blob
metadata attribute in Azure.
5 - Create the Data Source
Click Create to save the data source(s).
Manually Re-crawling Data Sources
Some object-backed data sources can be manually re-crawled to fetch fresh metadata about the data objects. If your data source is not set up to ingest the metadata automatically, you may need to perform this action from time to time.
- Navigate to the Data Source Overview page.
-
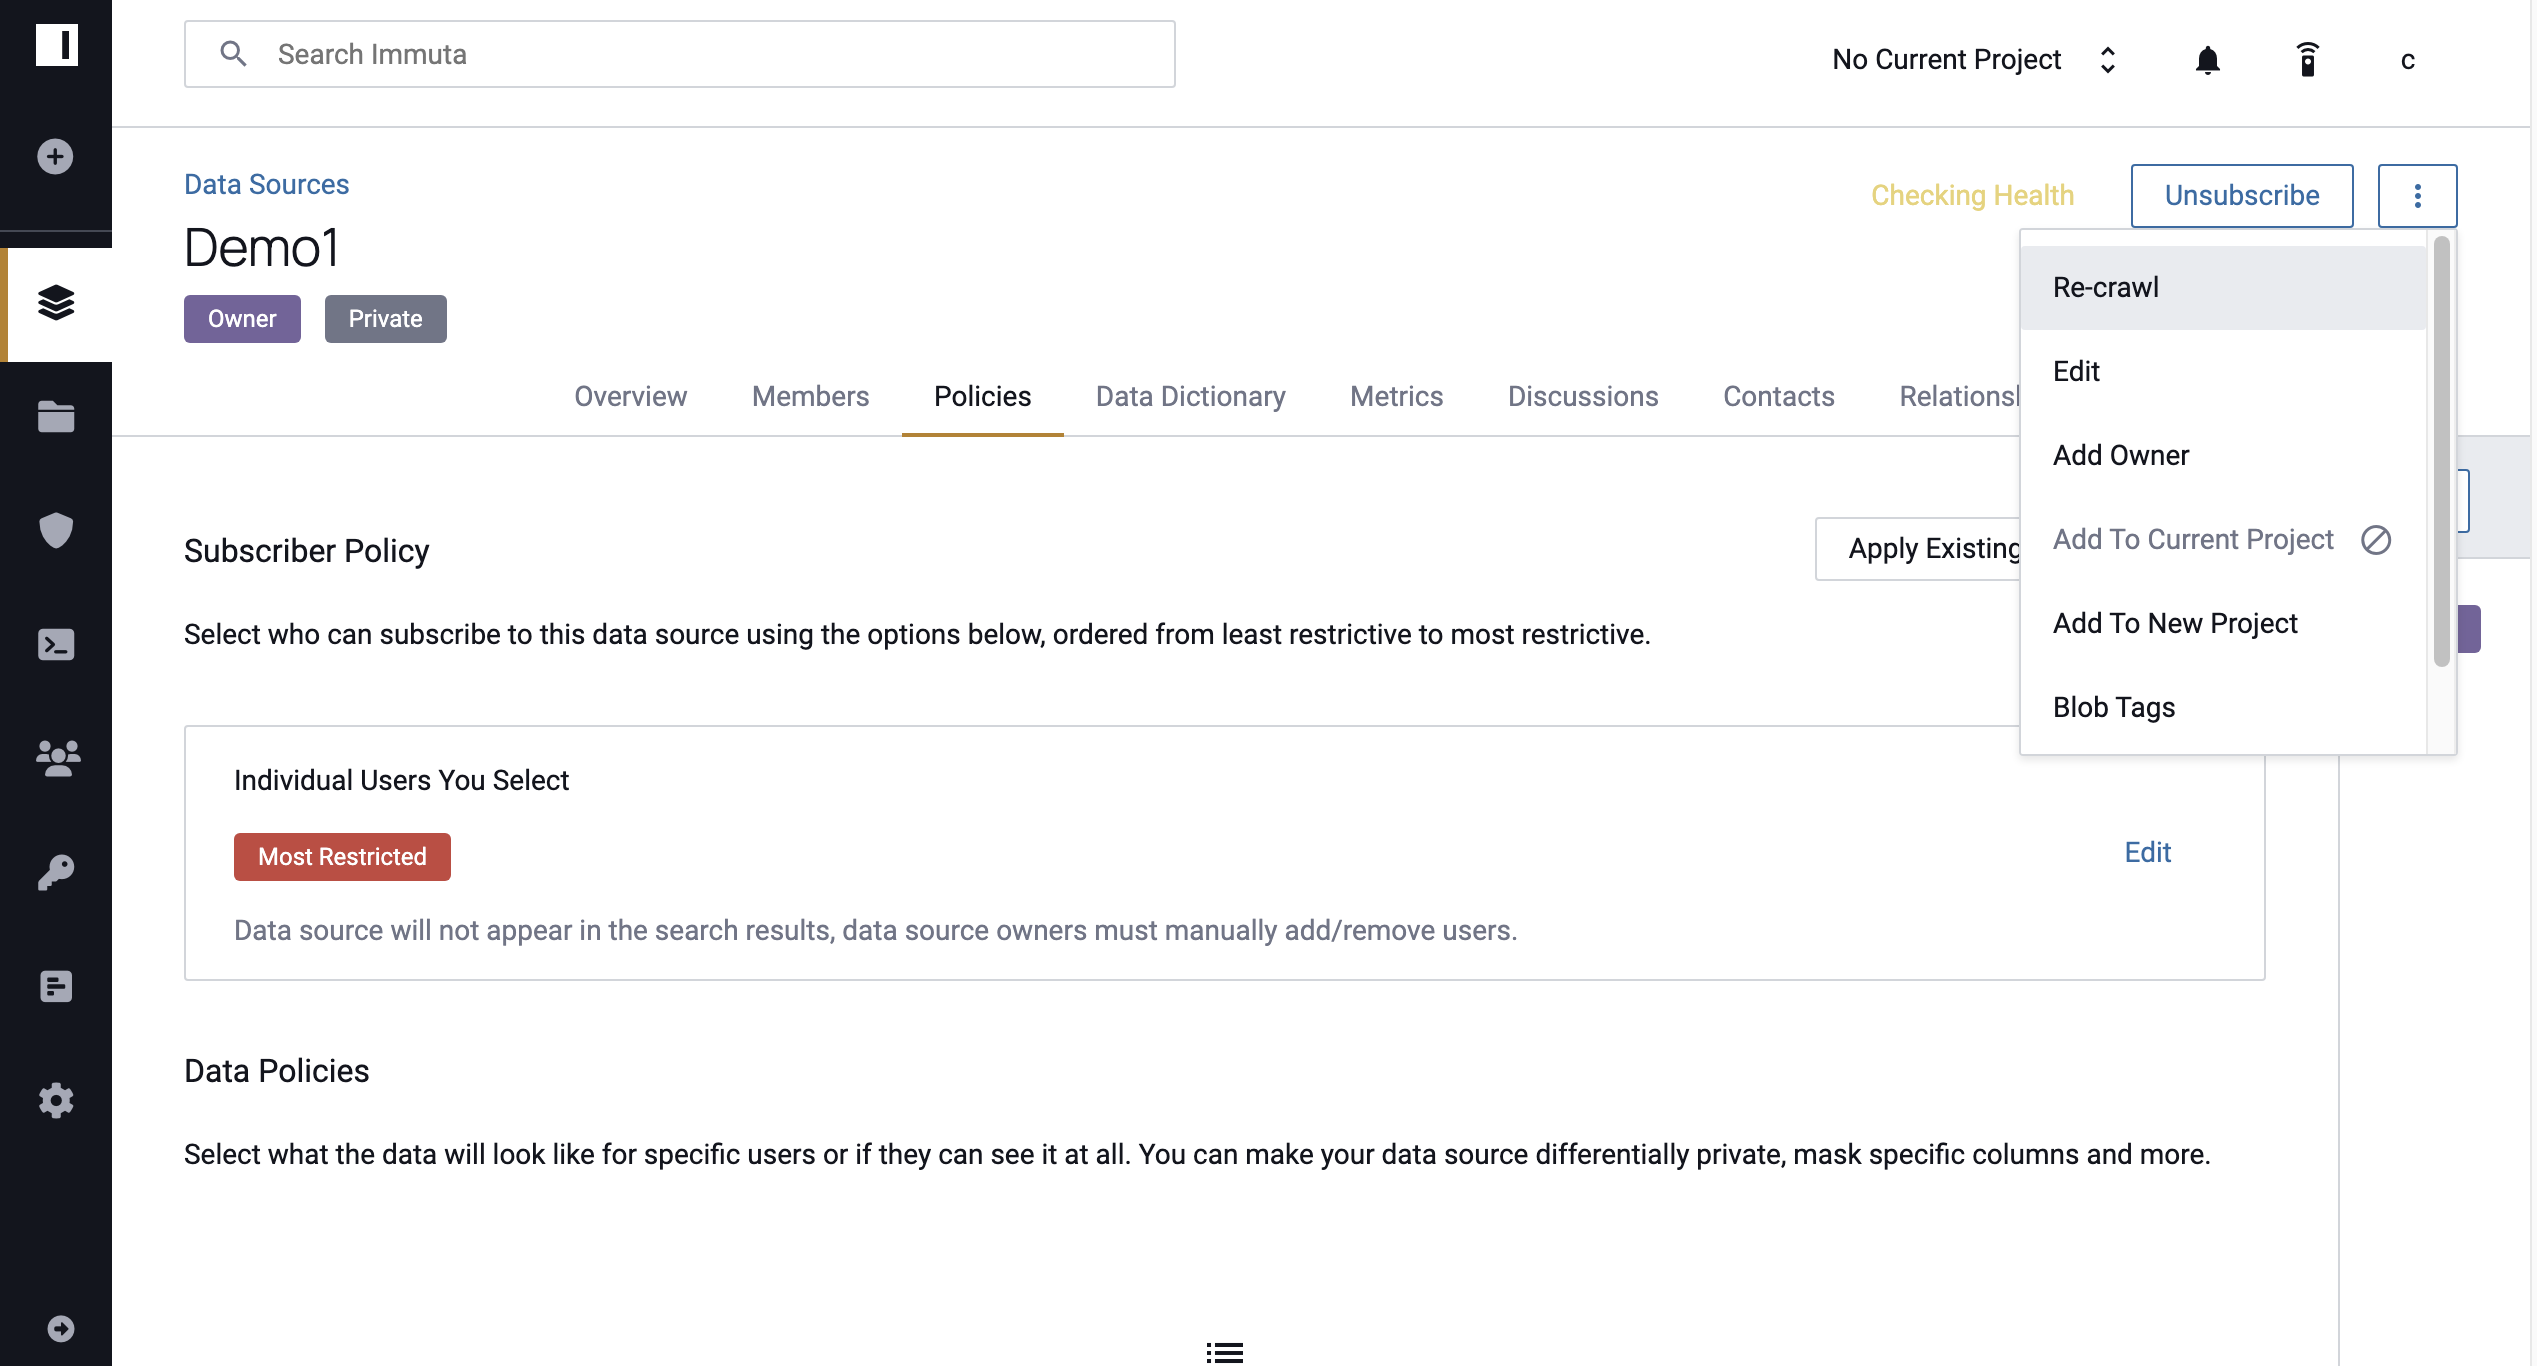
Click on the menu icon in the upper right corner and select Re-crawl.
